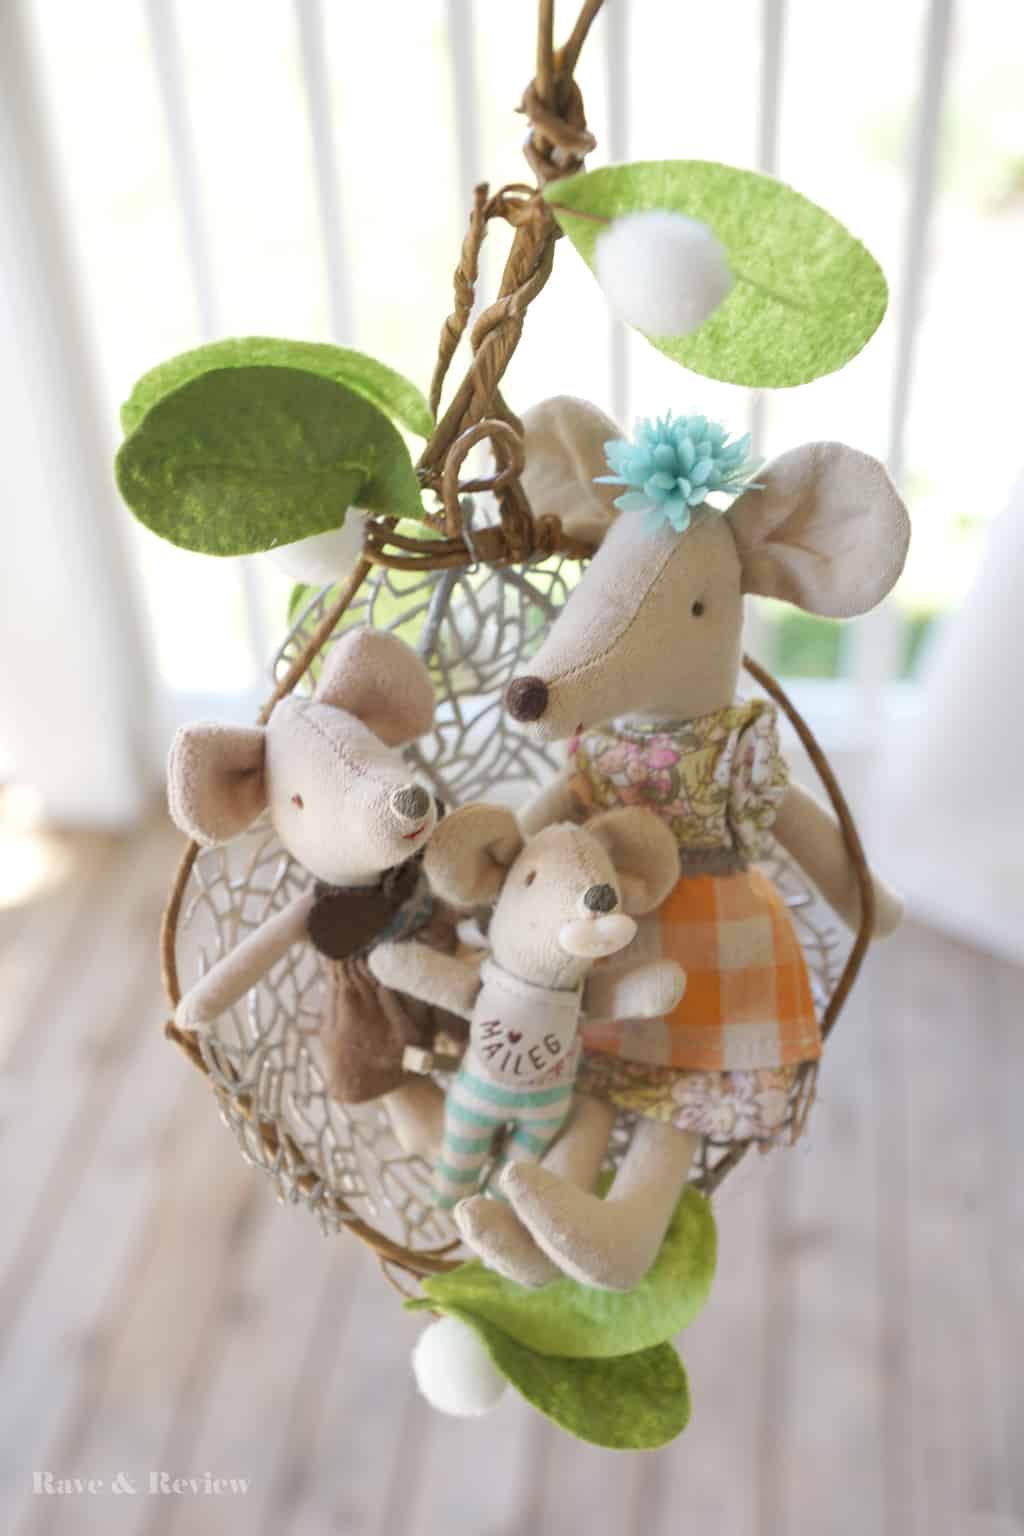
 Absolutely no one at all: Leanne, how many DIY miniature fairy swings have you made this week?
Me: Two, but I’m working on a third because I learned some important things while building the egg chair swing and baby swing for my kids’ maileg mice.
Everyone: …
What can I say, I guess I stress craft these days? 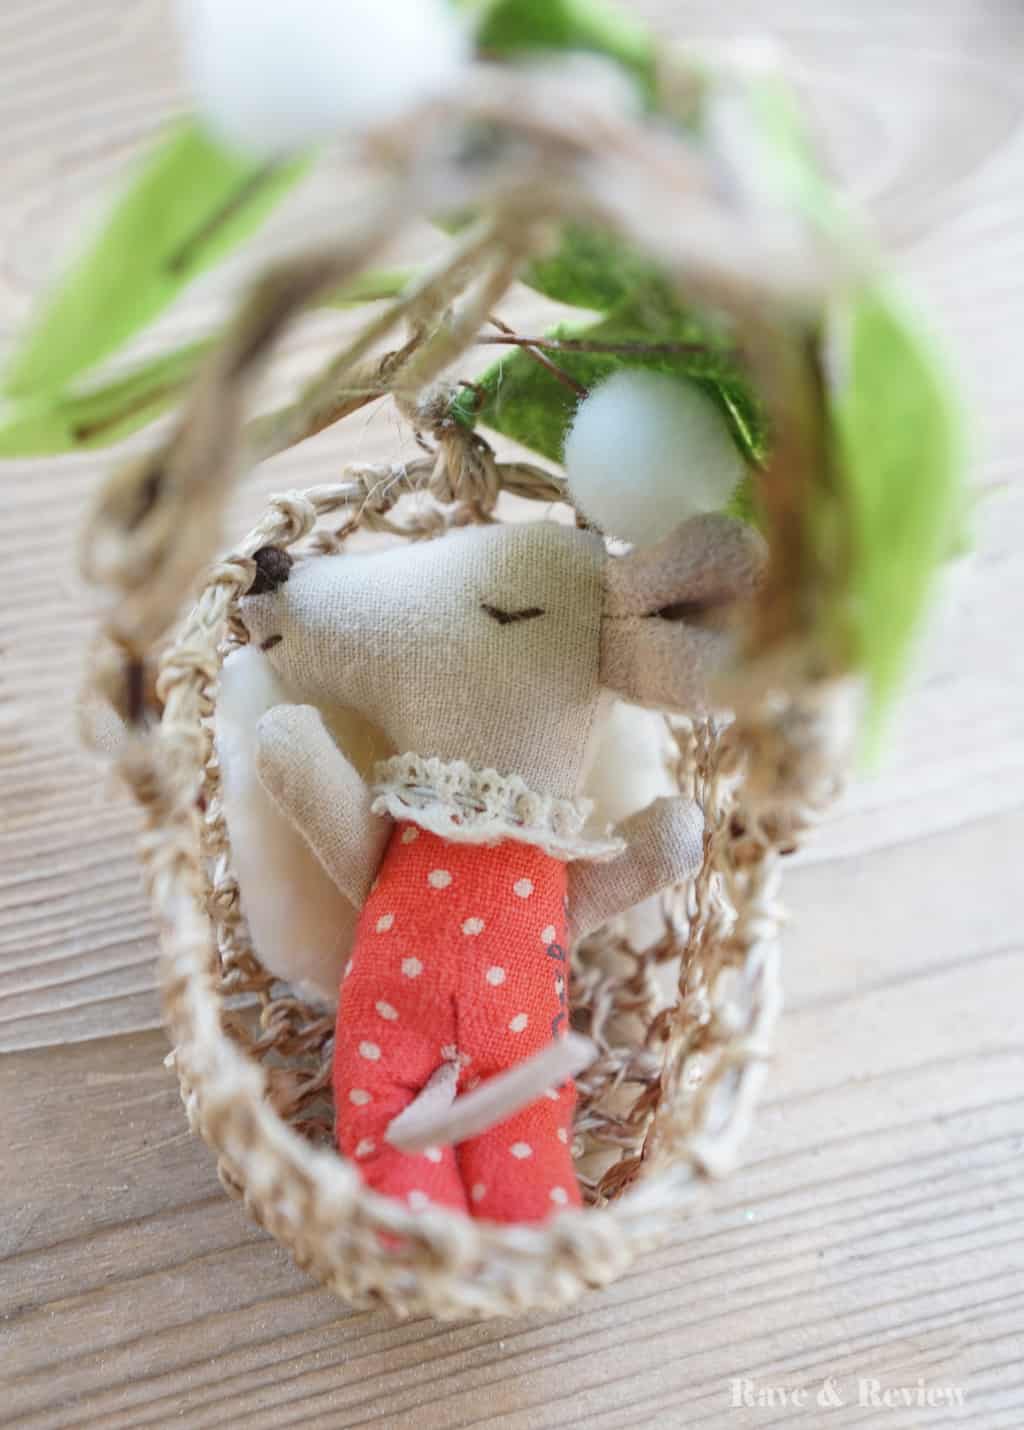
How I went down the DIY rabbit hole
The kids opened their Easter baskets this weekend and it sparked a huge project that is now taking over our homeschool area. Like always, their baskets included a new Maileg Mouse friend each. These three new friends inspired them to create elaborate mouse houses together around our entire upstairs.
As cute as it was, I was so worried I was going to step on all their mini accessories for their mice. So, out of desperation, I suggested we create a special Maileg Mouse House specifically for their mini friends. 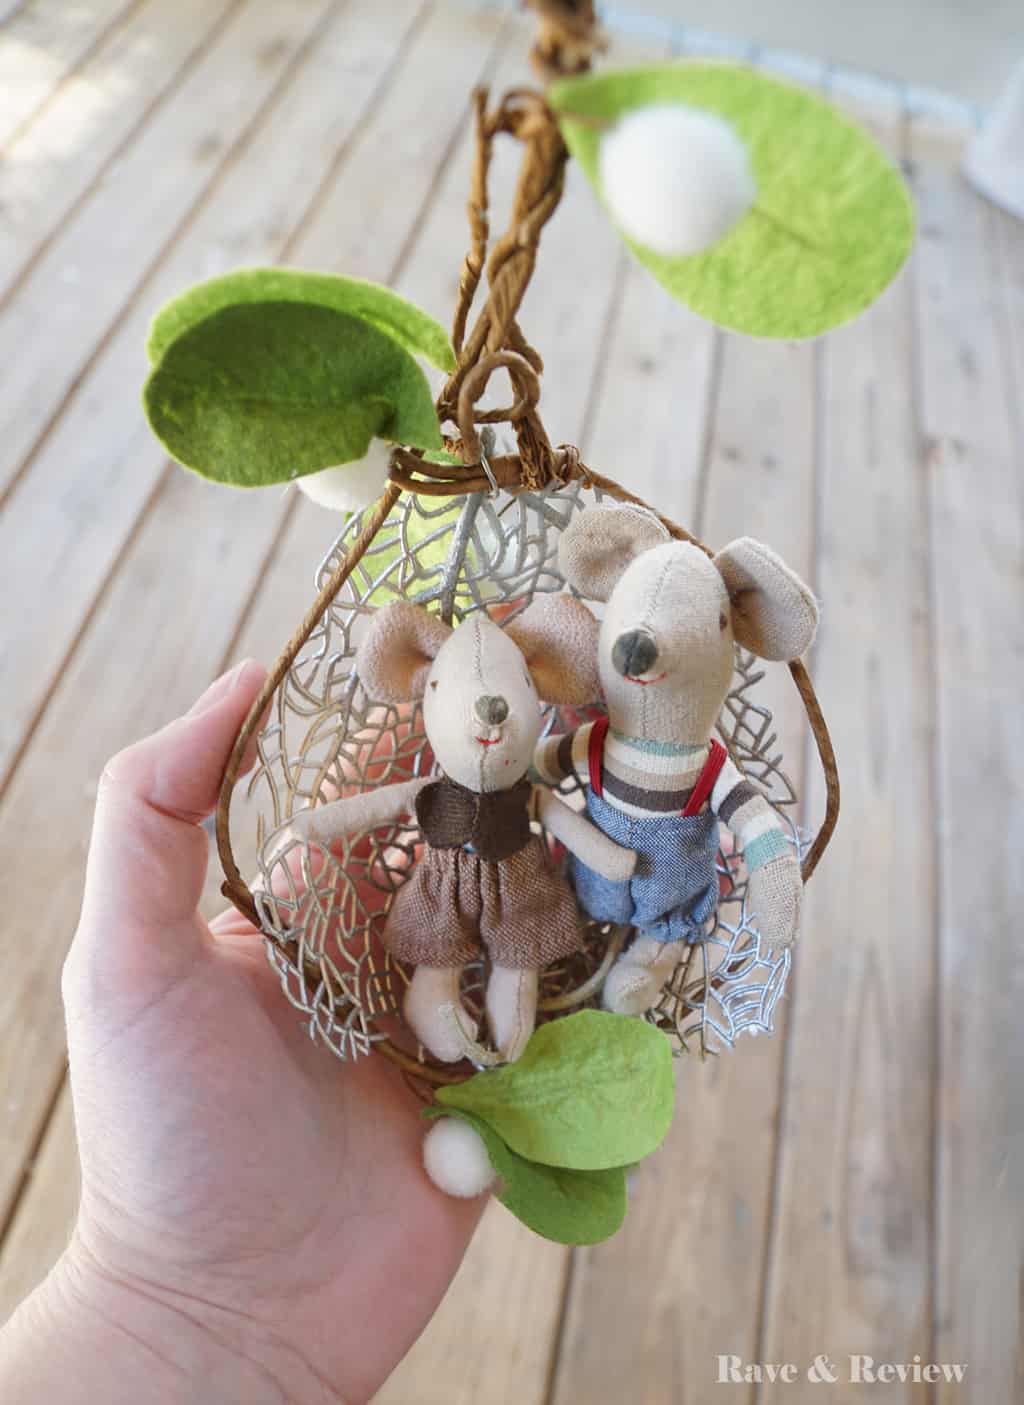
That turned into me DIYing a country cabin out of a storage bin from Target {more on that DIY later}. And, that of course led to me making a mouse swing. It was sort of a “give a mouse a cookie” scenario, only with crafting supplies and kids who really needed a creative outlet. 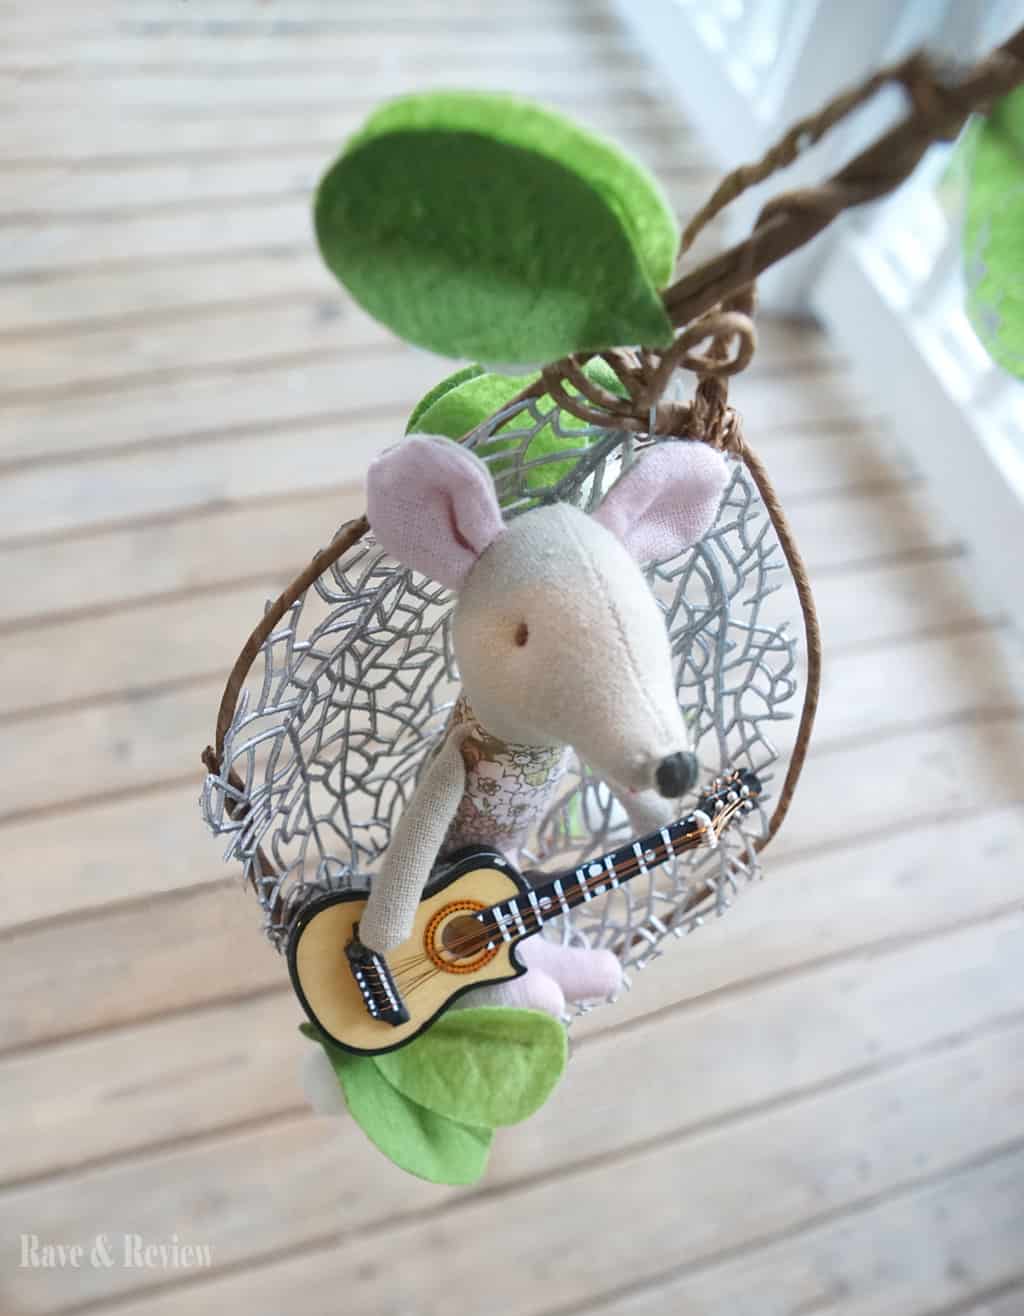
Our Maileg Miniature Swings
The DIY miniature swings really couldn’t be any easier, which is the perfect amount of stress crafting I can handle. For the baby swing, I simply started with a craft basket we had for American Girl. To add a canopy top I simply added some floral accents for the cradle “hood”. It was as easy as weaving some twine over the handle and side of the basket, and then adding some faux greenery. Easy peasy.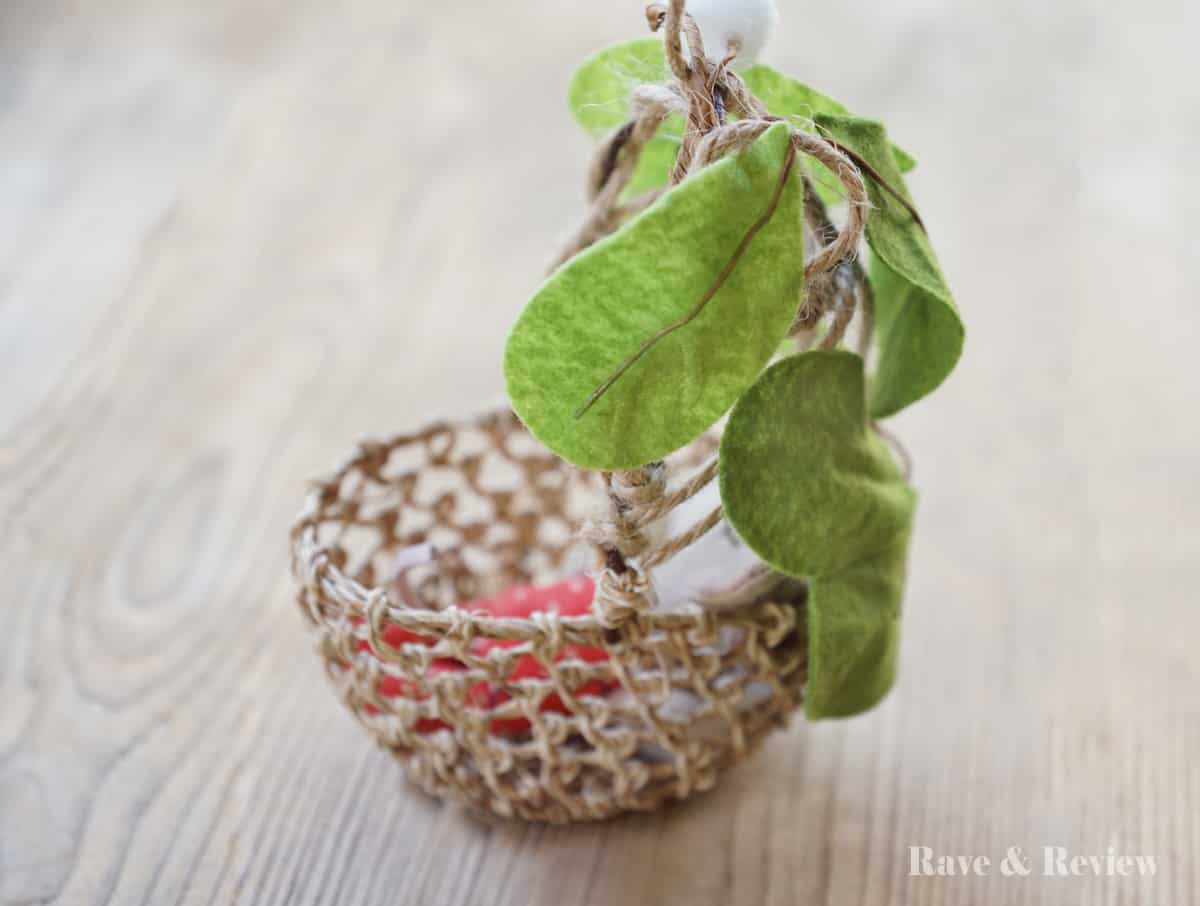
For the egg chair swing, I started with a $1 dollar spot faux greenery strand from Target. Side note: I swear this isn’t sponsored, I’m just shopping my stash these days. To fill in the swing shape, I used a plastic silver floral finish and some twine. That’s it, just the tools and supplies below.
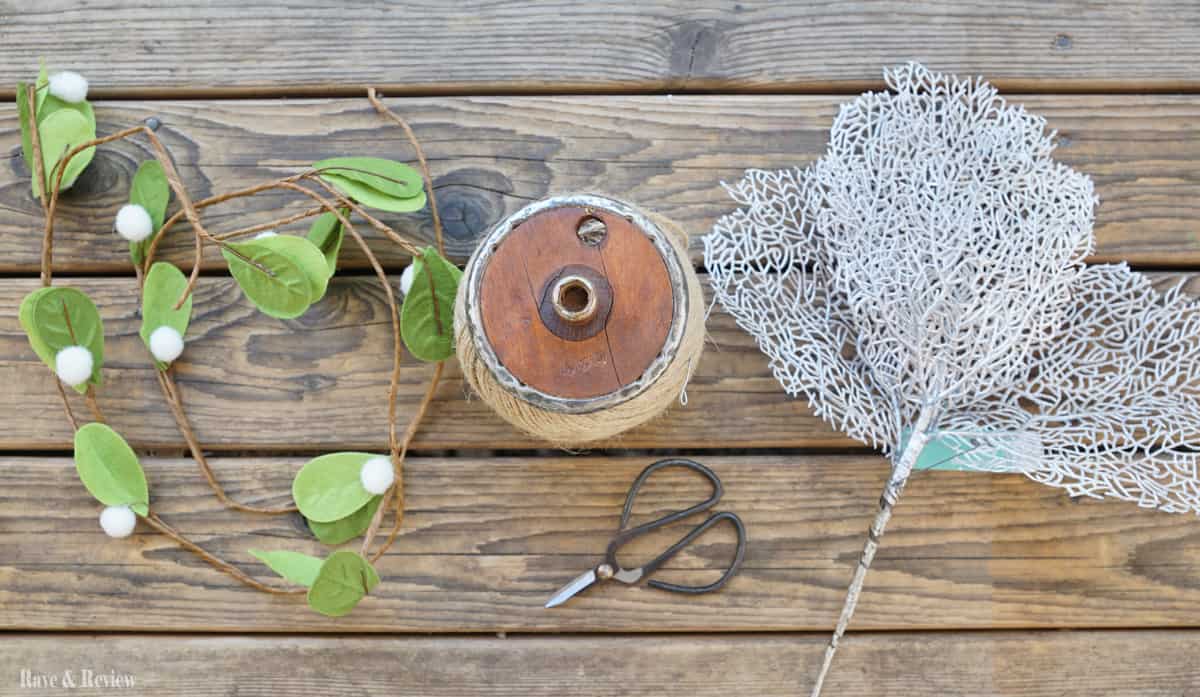 Creating your own DIY miniature fairy swings
I started crafting the egg swing by cutting off a piece of the floral strand about 13″ long. Using an imperfect oval, I formed the wire into the shape of the swing I wanted. Instead of cutting the leftover few inches off the top, I left it so I could control the angle of how the swing hangs. Viola, your swing frame is complete with just a few twists of wire. 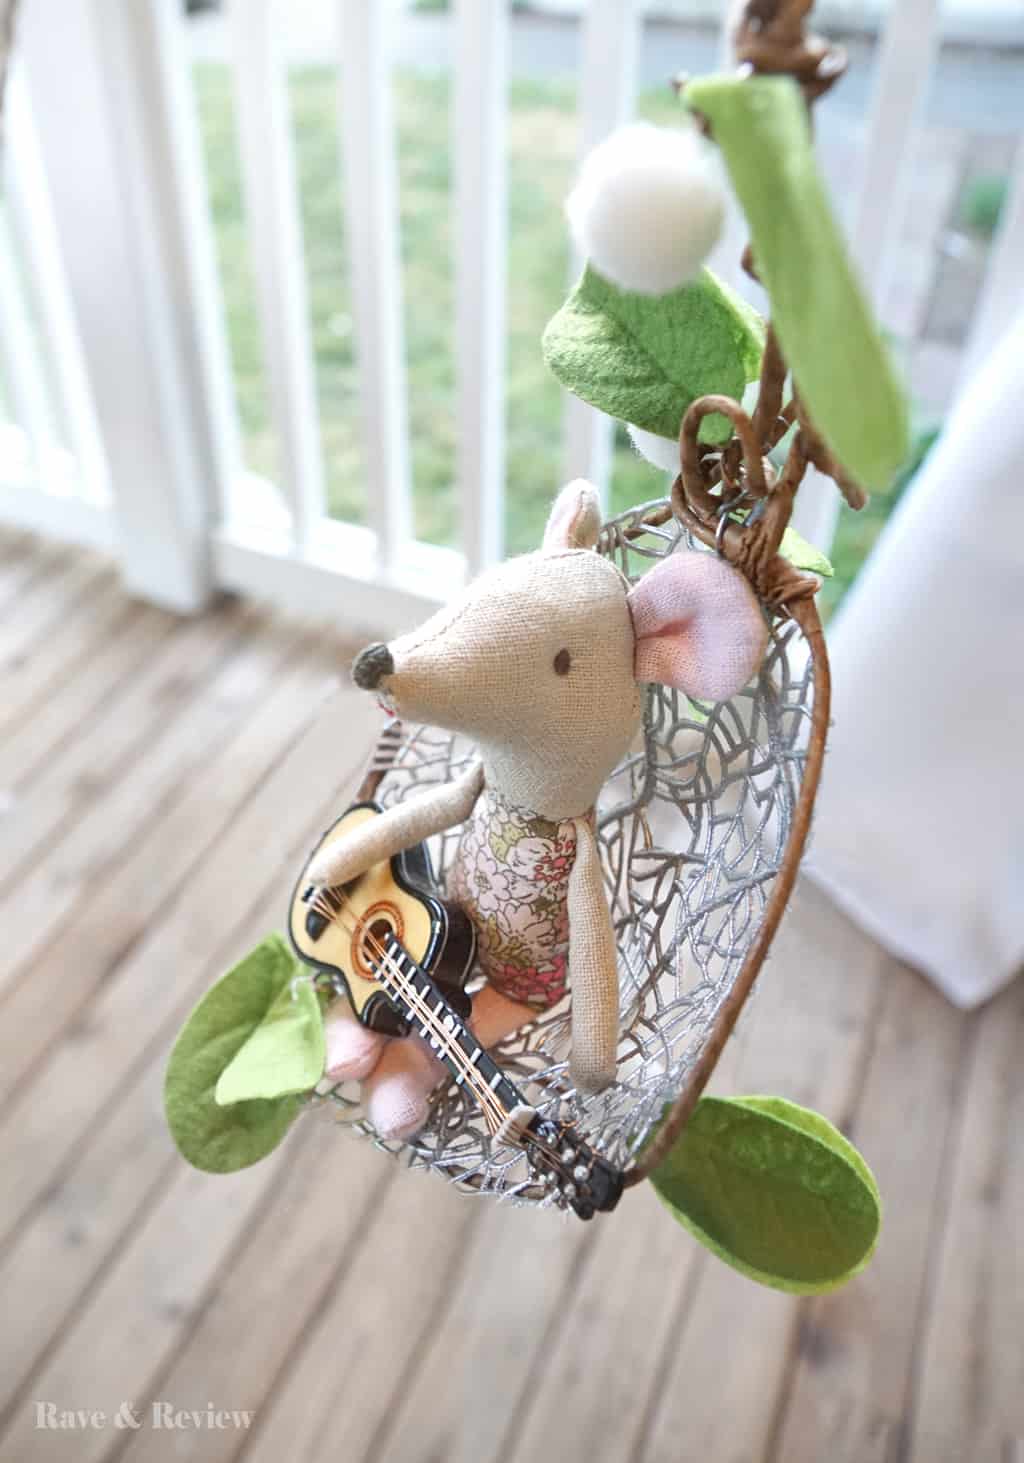
After the frame was completed, I took off one of the silver floral accent pieces and shaped it inside the swing frame. I needed to snip it up the bottom of the floral panel to add the circular swing shape. Instead of cutting the overlap, I just tied it together with twine so it would have a double reinforced seat.
Then, I used twine to attach the floral accent all around the swing frame until it was secure. That’s it – your egg swing is all ready for your miniature toys, your fairy garden, or just to display a favorite mini plush. 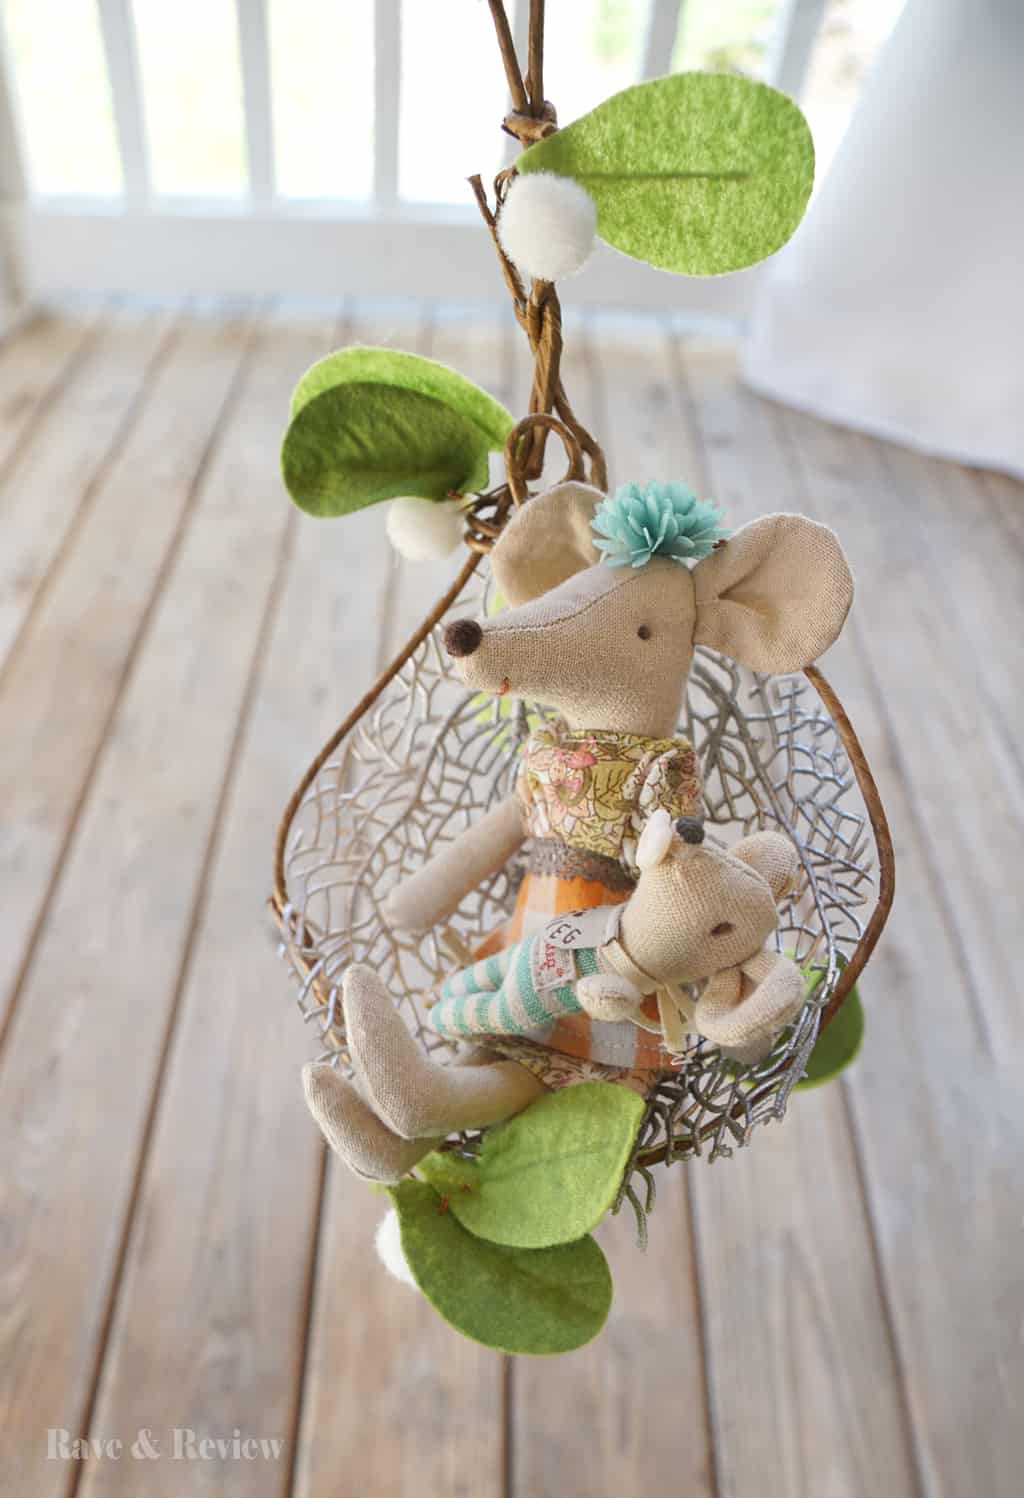

I love this! We have a Maileg collection and this is so sweet.