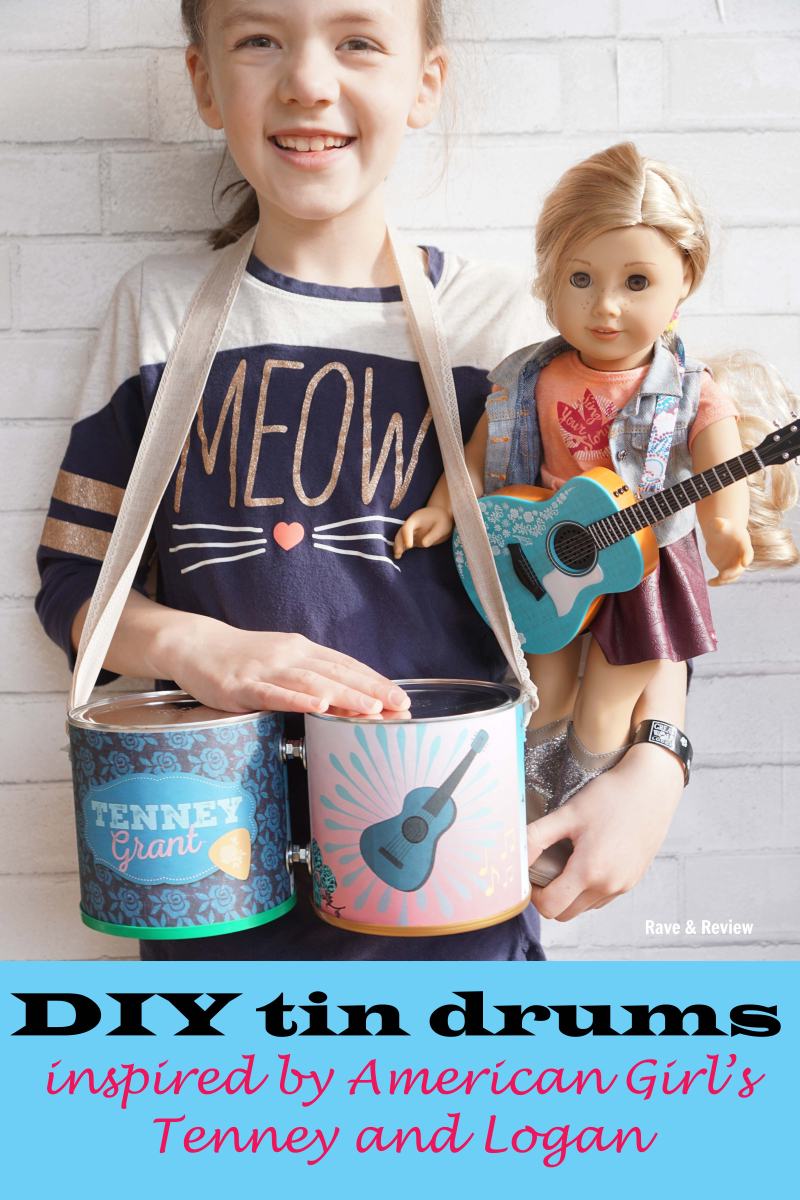
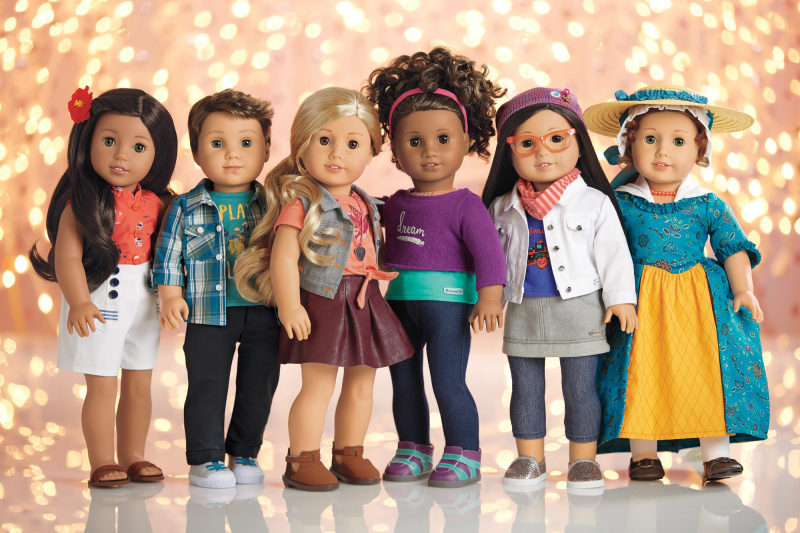
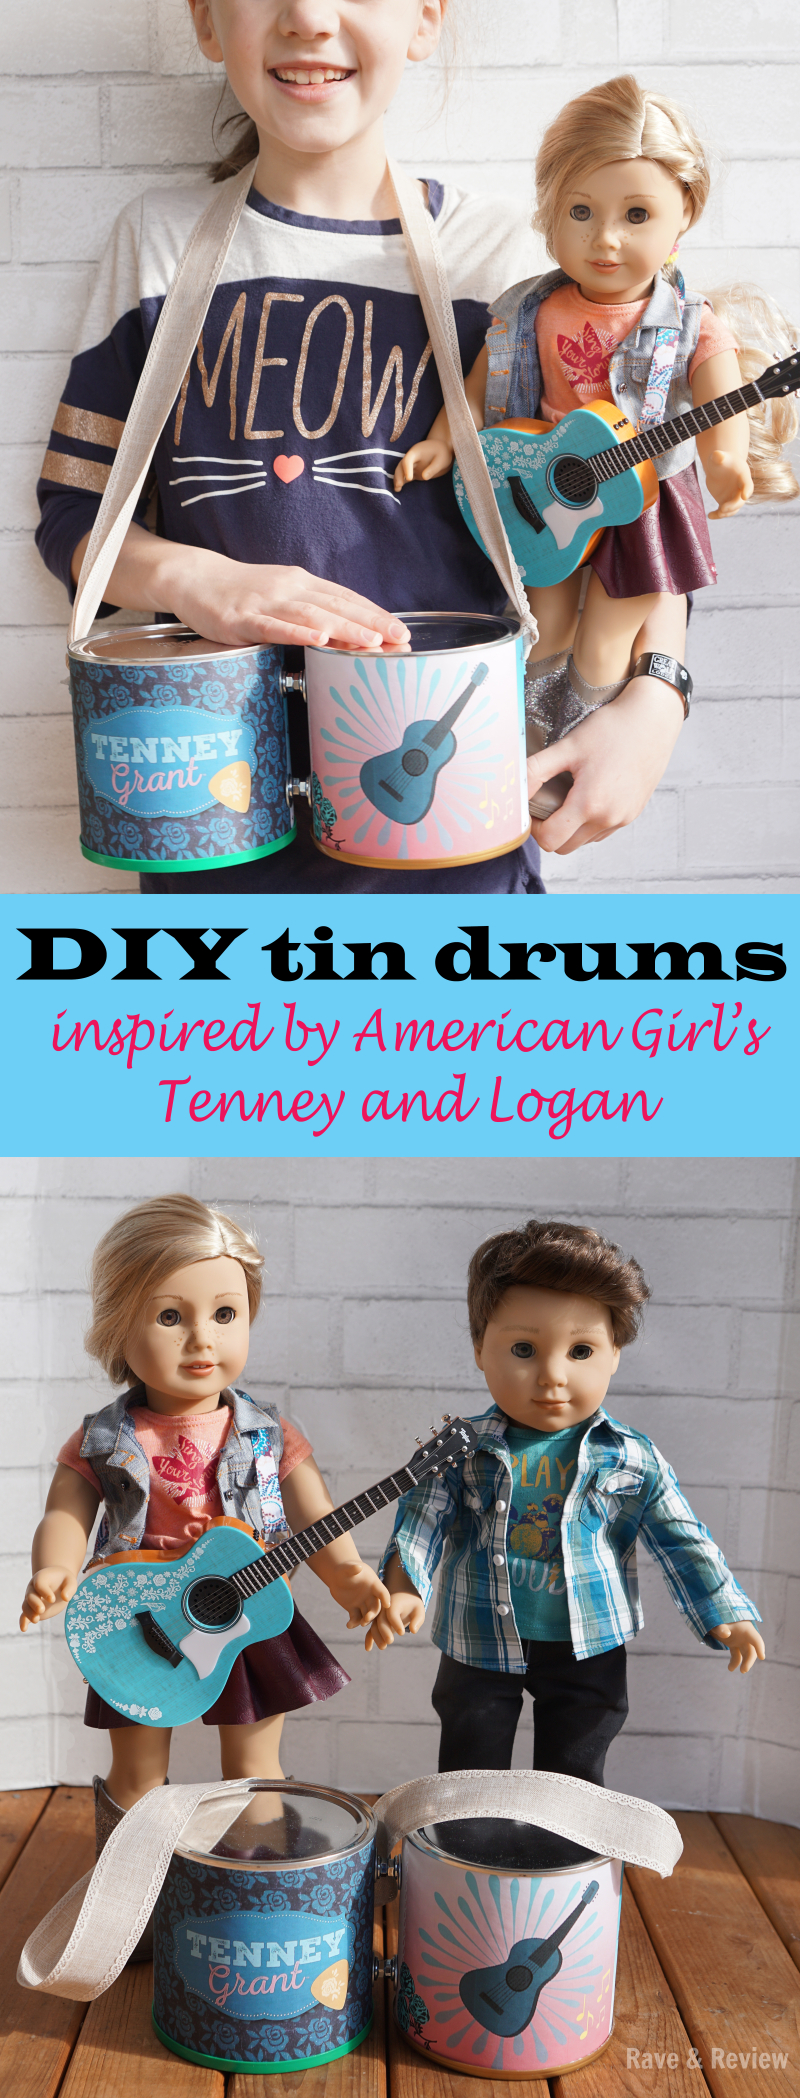
 Are you as crazy excited about American Girl's new contemporary dolls, Tenney Grant and Logan Everett, as we are? We've literally been counting down to their release for months, and we're so thrilled they are finally here. To celebrate their release, we came up with a Tenney-and-Logan-inspired DIY project to make a tin drum so you can start a band just like they did.
I'm going to walk you through the steps to make your own drum, including two handy little printables you can use to add logos to your American Girl-inspired drums.
To start with, you will need to gather your supplies:
2 large tin {or tin-and-cardboard} cans – we used milk substitute tins, but you could repurpose coffee cans, formula canisters, powdered drink containers, or whatever else you have on hand.
2 long threaded rods (or bolts), 8 nuts, and 12 washers – for securing the drums together
2 printables – for covering the cans {you can download those below}
Scissors, tape, ribbon, and a small drill {optional, you can use scissors if your can is thin enough} 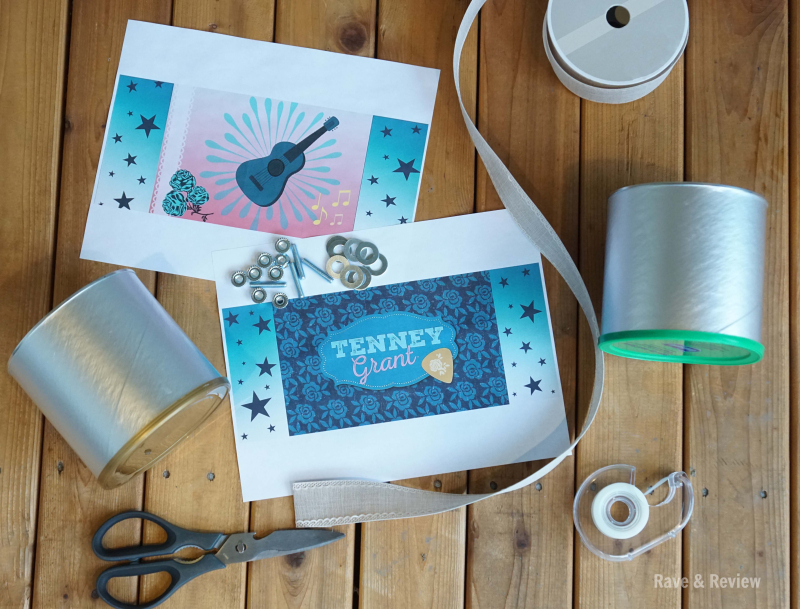
 You can click the images below to get the graphics for the drums. The "Tenny" printable was modified from the package of the doll t-shirt we got at the Tenney and Logan event at the Seattle store and the other guitar printable is modeled after the giveaway Tenney shirt.

 Print these out the biggest you can on your printer {hint: you might need to unselect "fit picture to frame"}. Then cut them out and tape them to your tin upside down so that the plastic lid part is on the bottom of the tin.
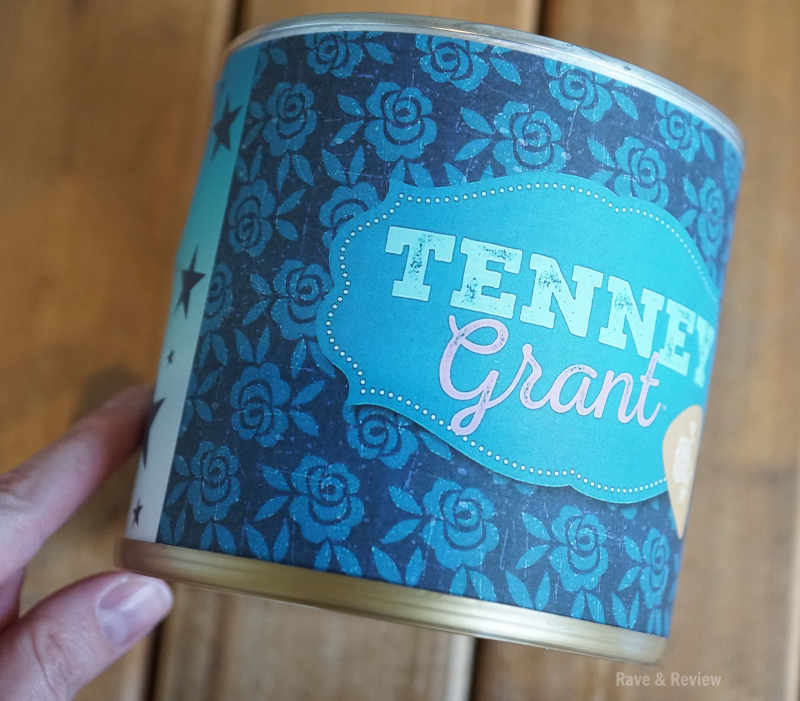
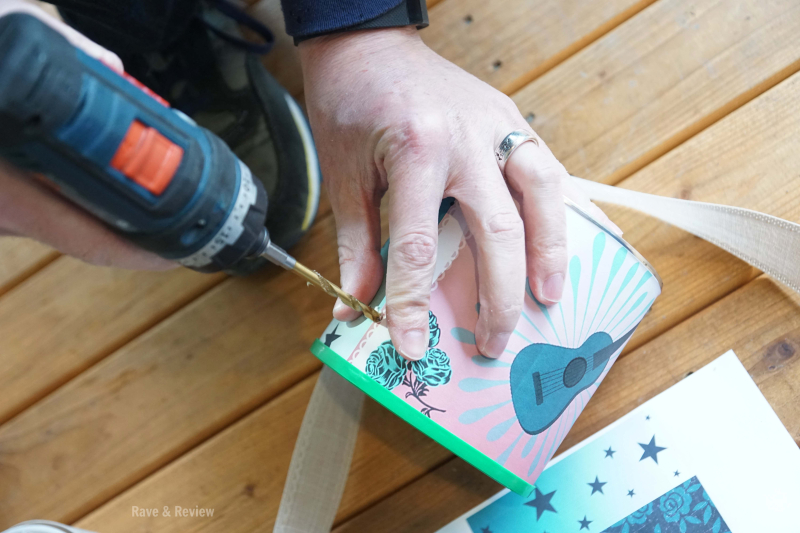
 After your drum logos are attached, you can mark your cans for drilling. You will need to measure for the two holes in each can on the inner side where they will connect together. We did ours an inch from the top and an inch from the bottom so they were easy to measure and would line up when connected. We also marked each of the tins on the outer sides to drill so you can connect a ribbon to wear the drums.
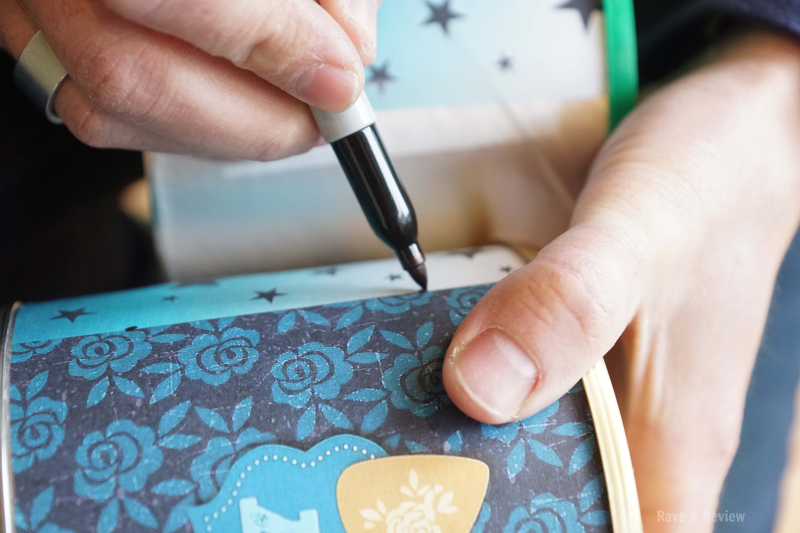
 Next, get someone authorized to use power tools to drill the holes for you. The paper will tear a bit as the drill turns, but don't worry because that will be covered by washers once they are connected.
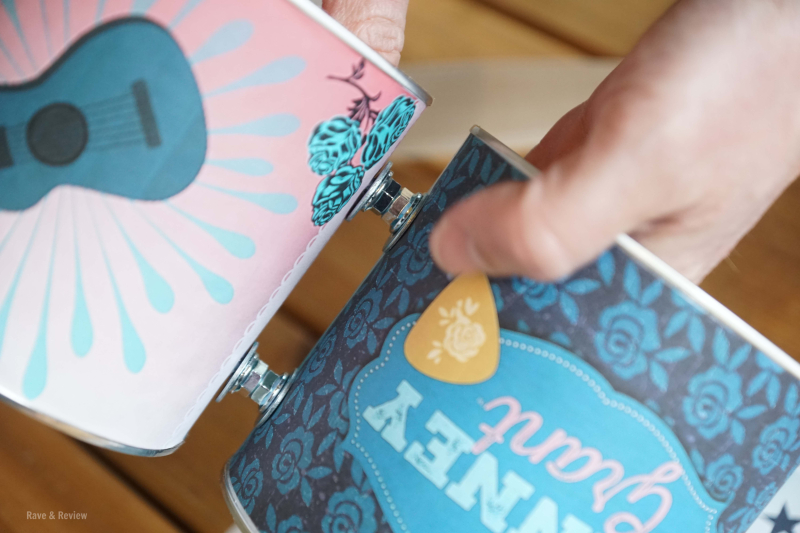
 Once the holes are drilled, you can start connecting your drums together. Begin by prepping the two rods with a few nuts as spacers and then add washers to each side where they will connect through the tins. If you're using bolts just put on a washer and slide the bolt through the hole on the inside of one can and then build out the middle spacing the same as pictured here.
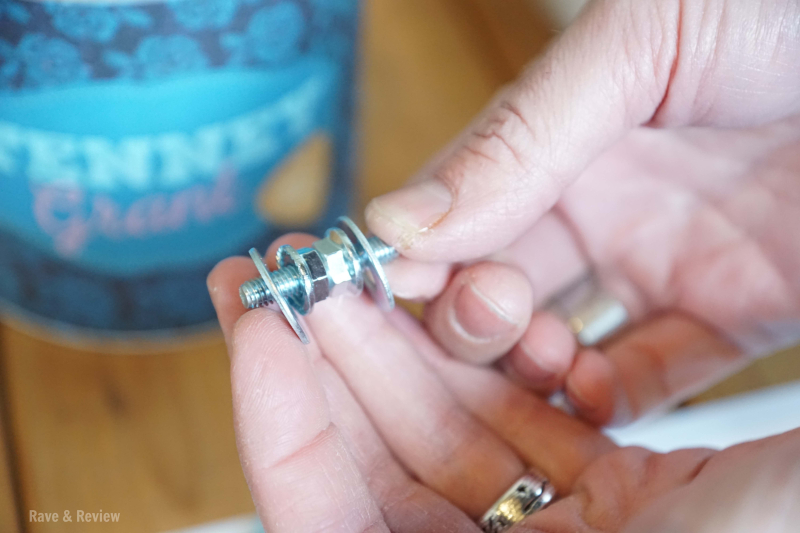
 Place end of rod through tin and add another washer before securing nut on the inside.
 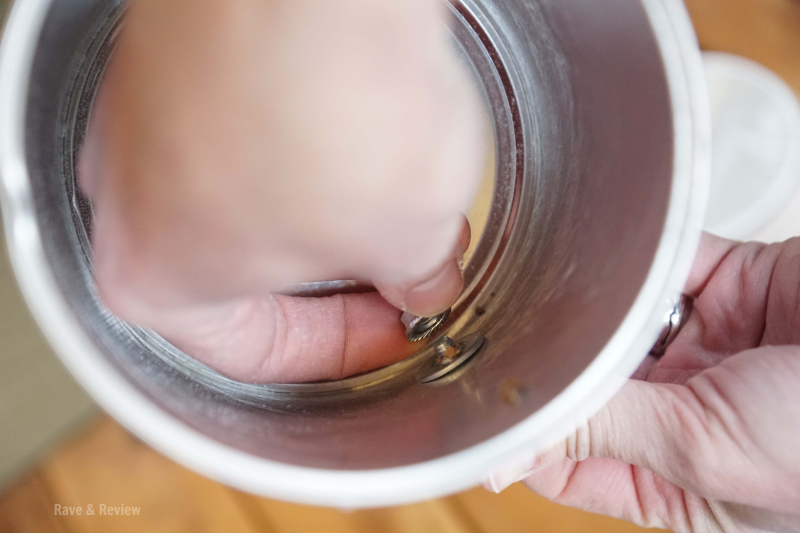 Do this for all inner holes to connect tins to make drums.
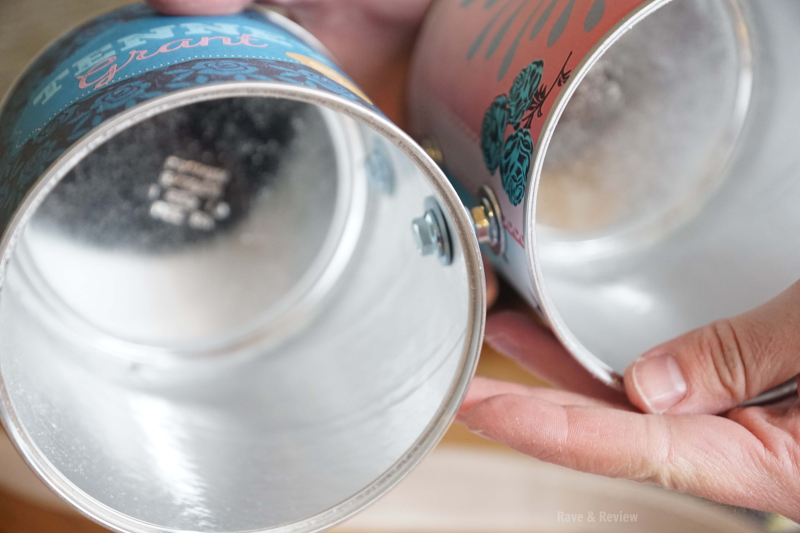
 Cut your ribbon to the desired length, taking into account the length required to make 4 knots. Once cut, knot the ribbon a few inches from each end and slip on a washer. Place one side into the outer hole on the tin and then add another washer before tying the ribbon off inside. Repeat for the other side of the drum to make a ribbon carrying strap. You can now either put the lids back on the tins or leave them off – whatever sounds best to your musician.
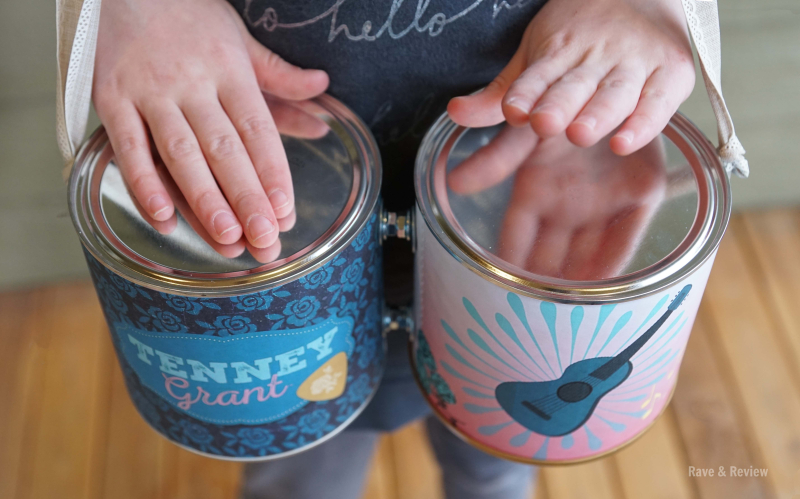
 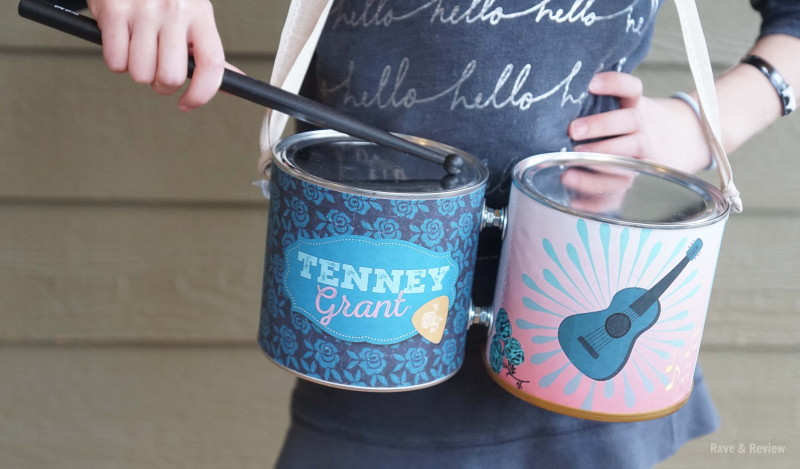 Let your little one use drum sticks, wooden spoons, whisks, popsicle sticks, rattles, or simply use your hands to play a beat as you march or play as a band.
  Be sure and get your dolls in on the fun, too!
 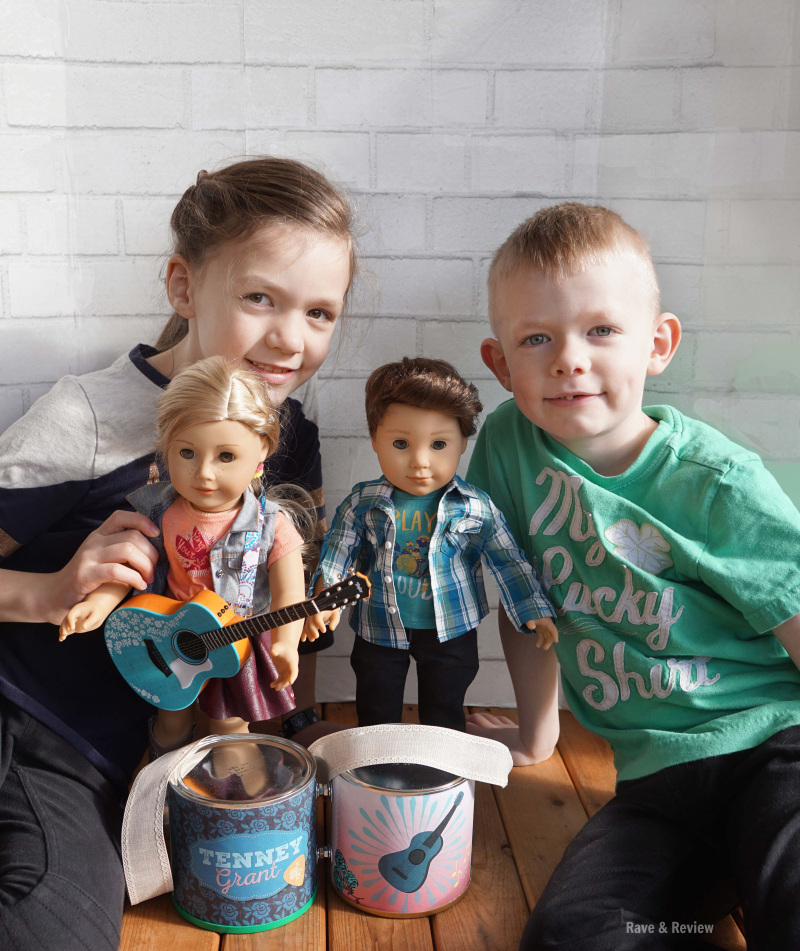 Have fun playing and be sure to let me know if you loved this craft by commenting below. Also, let me know what American Girl doll release you are most excited for this year!
 Want to pin this for later? Use this handy pin!


So incredibly adorable!!
Looks like a lot of fun, and like it wouldn’t take too long either!
I love this so much!
This is awesome! I’m printing the drum logos now!
Such a great idea!