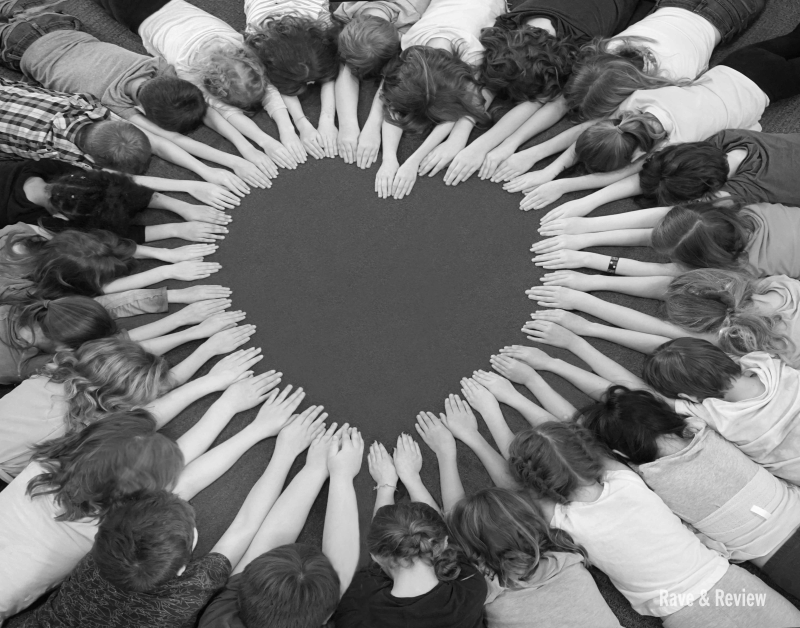
 Every year our school has a school auction and each grade is responsible for creating a class project to be auctioned off during the live portion of the event. This year, I was in charge of our third grade class auction project. I honestly had no idea what I was agreeing to when I volunteered, but I ended up having a lot of fun researching, planning, and then executing our class project with the help of the students.
Since photography is my thing, I was looking for a photo project I could do, and someone suggested we try an aerial shot where the kids hands and arms make the larger design. The most popular shapes are circles, hearts, squares, and crosses and they are popular for classes because they include everyone and are a fun piece of art that is a great conversation piece. Sometimes they have text inside the shape or designs that play off the main shape, but the basic idea is the same. I gave two ideas and our class did an informal vote for a heart shaped image made by the students and we scheduled our photo shoot. 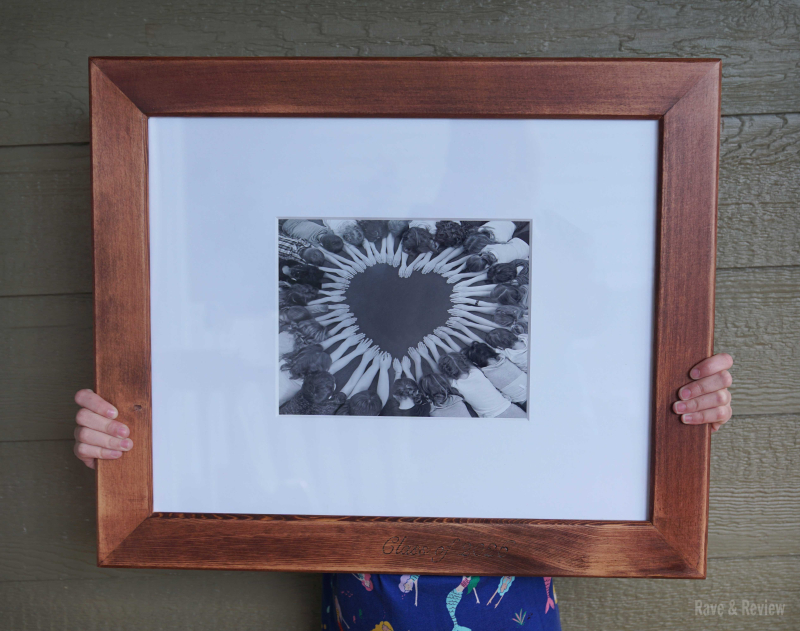
If you're here, chances are you are hoping to shoot one of these types of images. So, I'm doing you a favor and sharing all I learned during this process, so I can pass along my newfound expertise. I'm going to start by cautioning you that getting this picture will likely be neither a fun nor a quick process. Since I do lots of photo shoots with kids, I was expecting a small challenge, but even I was exhausted after this shoot.
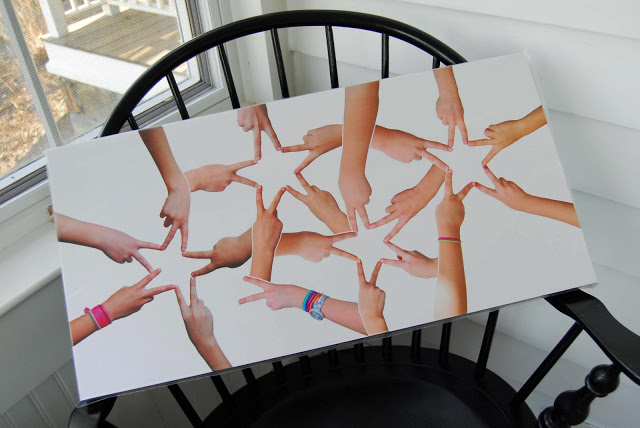
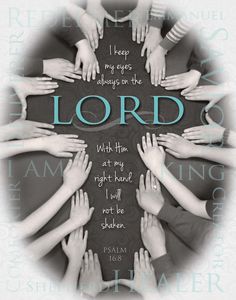
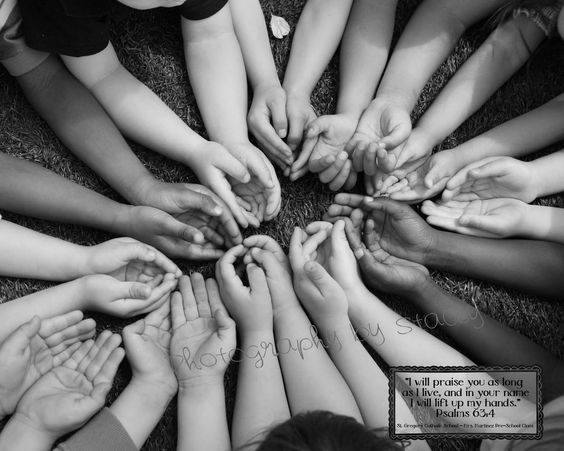
Some examples of other student-made shapes with links to where I found them. They sure are cute, aren't they?
 |
 |
 |
Here are my tips so you can create beautiful images like this while streamlining your process and make the whole experience less arduous and Photoshop-heavy. Ideally, these tips will make getting your image a whole lot more enjoyable for everyone involved.
1. Bring an assistant {or three}
I promise you, you will need extra hands to move kids around, help direct, and generally keep you sane. DON'T SKIP THIS STEP. You will regret it. Even the most easygoing students did not find this process enjoyable, and I heard about it over and over again {loudly} while I was trying to direct the creative process, take the pictures, and keep the kids from getting too rambunctious since we were doing it in the hallway during school hours. Ideally, these people you have assisting you will understand the vision of the project, know the kids by name, and be someone that can help keep control once the kids get amped up about the idea of a mid-day photo shoot.
2. Have the children wear short sleeves
Or, at the very least, have them wear something that can be pulled up so their arms are showing for the picture. Sweaters, long sleeve tees, and other distracting elements should be avoided, so make sure you communicate that to the parents before the shoot.
3. Plan the space
You will need to find a place where the kids can fully lay down and extend their arms. We ended up in a large open landing by the teachers' restroom after arranging quite a bit of furniture to fit a whole bunch of third graders. I would have preferred doing the shoot outdoors for this reason, but unfortunately it was pounding rain when we took our shot and all of our covered areas aren't ideal for photo shoots.
4. Lighting matters
With so many kids and so much moving around, you probably want to forgo standing lights that could potentially be kicked or get in the way. Instead, utilize flash, or better yet use natural light that comes from multiple sources {i.e. windows, open doors, or skylights}, we used natural light for ours and I was very grateful for good skylights that let in tons of light as well as large windows on either side of the landing.
5. Pick a good "backdrop"
The kids will need to lay on the floor for this, so unless you get lucky and you have a beautiful weathered wood floor or something else photo-worthy, you will want to bring in your own. Depending on the size of your image or what color scheme you are gong for, you could use a big bed sheet, a tablecloth, painting drop cloth, or you could lay down a traditional backdrop. You can also use a concrete, laminate, or carpeted floor, or you could bring in a roll of vinyl or paper. We used an 5 x 7 throw rug and it wasn't large enough, so I ended up having to fake it quite a bit while editing. Learn from my mistake and just know that bigger is better and understand that whatever you use is going to get a workout from kids moving around on it. Your cloth will get wrinkles that you have to remove, your paper will get torn, and you should generally expect chaos. The BEST backdrop will be something that is stiff and sturdy, big enough to cover underneath the kids, and will hide any imperfections. 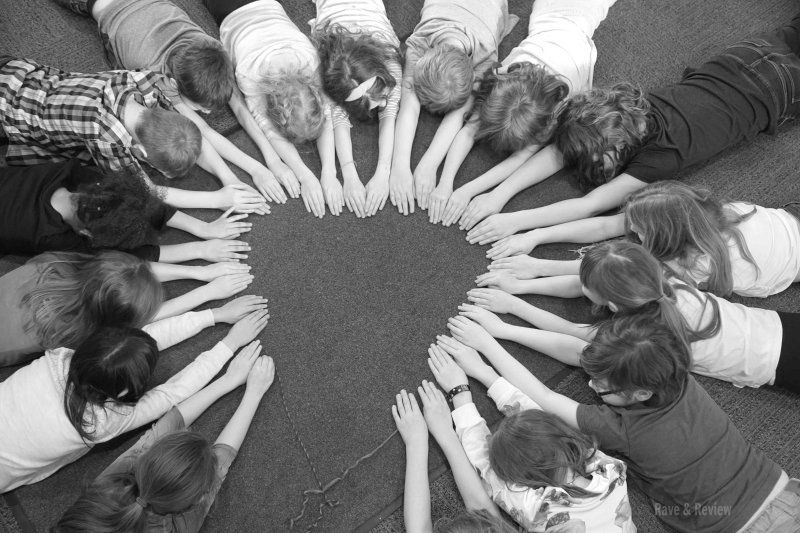 6. Lay out your shape ahead of time
But, as you do this, just know that size of your shape may need to change as you place kids into your shot. Unless you are really good at estimating children's hand sizes {hahahaha} and know just how much room their bodies will take up and who in the class will refuse to lay next to so-and-so and leave several inches between the two of them, you will need to be flexible in the moment. We used yarn to make the heart shape and it worked fairly well, but the kids did like to move it around and mess up the shape when we were busy getting others situated in the shot. I would suggest taping it down in certain spots and then using that as a rough guide. You could always lift it up after everyone is in place if it is visible, or if their hands cover it completely you can just leave it be. A note on size: If the shape you lay out is too small for your class size, simply have the students put their fingertips just at the edge or an inch outside of the laid-out shape. If it's too big, have them place their palms or wrists on the shape.
7. Decide how you want the kids hands to look ahead of time
We had the kids fold their thumbs underneath their palms to get the best shape possible, but if you prefer more space to your design, you can choose to have them keep their hands perfectly flat, make a fist, or do whatever else you would like.
8. Bring a ladder or tall chair
You will need to get all the height you can to take the aerial image so it doesn't appear too skewed. I used a tall chair, but I'm naturally pretty tall so my height worked for me. If you are worried, you might want to bring a small ladder instead.
9. Set up the crucial parts of the shape first
If you focus your attention on the most critical parts to get them as good as you can it will give you a much more polished image when you are done. Building from the tip of the heart was much easier than worrying about the sides of the heart first, and it was good to give the kids an idea of size and shape.
10. Plan who will go where
I would put the most agreeable kids in the crucial spots because they will need to hold perfectly still once set and probably will need to make small adjustments throughout the process. Even just a few students moving slightly can ruin the design, which is what happened in the shot below. It's hard to tell it's even supposed to be a heart shape!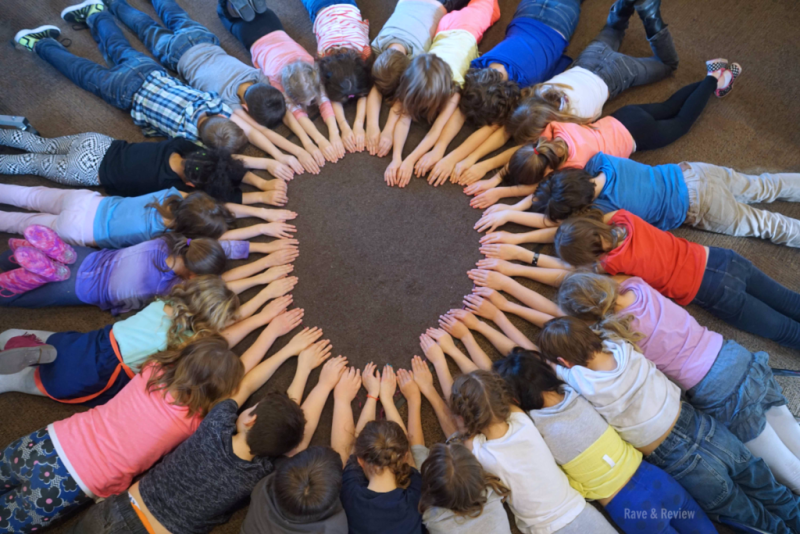 11. Final check before shooting
You will kick yourself if you find out while editing that one of the students has plumber's crack {true story}, another one has a chintzy carnival bracelet {also true}, and another is purposefully not cooperating {I wish that one wasn't true}. This is where I spent almost all of my editing time.
12. A little patience, please
Know that the kids {and maybe even your assistants} don't have your unique vision. The kids won't be able to see the big picture and they won't understand that a tiny movement of their hands will ruin the overall shape of your design. Be patient, and explain how they must stay as still as humanly possible in order to get the project done quickly. A fun reward for helpfulness during the shoot might be a good idea, like extra recess or free time in the class after the picture is taken.
13. Editing counts
If you don't have access to Photoshop, there are still some great free programs you can use for picture editing. I love PicMonkey, but there is also Canva, as well as many apps that you can download. While editing, you can add text, adjust levels, remove any of the string/yarn/tape you laid out, and you can fix anything you forgot to check for during the shoot.
14. Don't forget the fun shot, too
For the art print, we had the kids all lay face-down so it looked more artistic. But, I had planned ahead for an end-of-the-year gift for the teacher and took a few where the kids are looking up at me. I love this shot now, which is probably because compared to the other shot, it was almost effortless.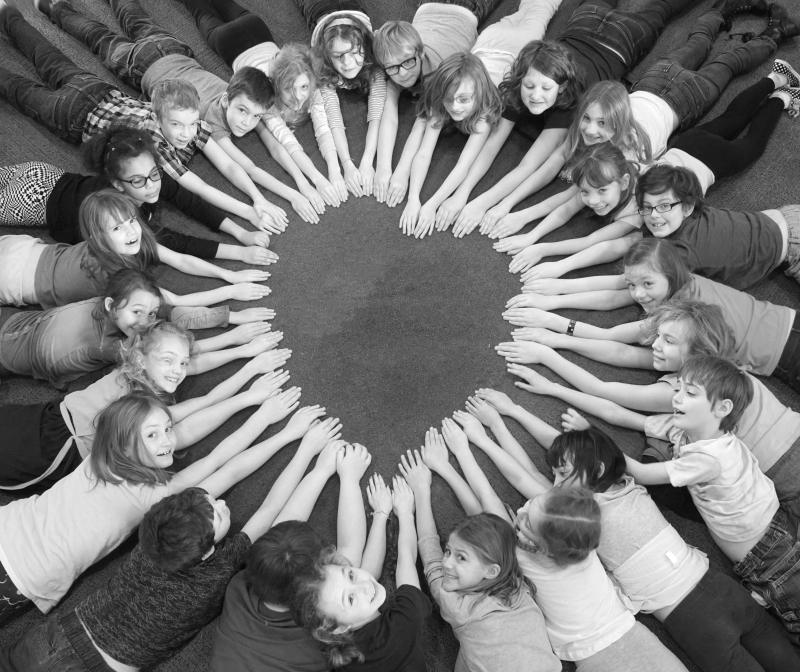 15. If might take more than one shoot, and that's okay
Maybe you forgot someone was absent, or you botched the camera settings, or that unruly child messed up every single image, but just know that these things happen. The class that tried a shaped picture before us had to reshoot TWICE before getting it on the third shot, and I've now heard so many stories proving that this is pretty normal. I wish I had known that going in, because I wouldn't have been so cocky before the actual shoot. But, a lot of planning goes really far towards not having to reshoot, and I see now that I could have planned a whole lot better. I was lucky I got it in one take {and everyone was present that day}, but it's not the end of the world if you need to try again.
16. Plan for cropping
Whether you are hoping for a framed and matted piece or a canvas printed with your photograph, you need to keep your dimensions in mind. Choosing a standard size is going to be a whole lot less expensive than dealing with special orders. We ended up cropping to 8×10 for our image and matting to 16×20 with a signature frame in the graduation department at Michaels. An awesome donor made our custom frame for us, which makes it even more impressive in person.
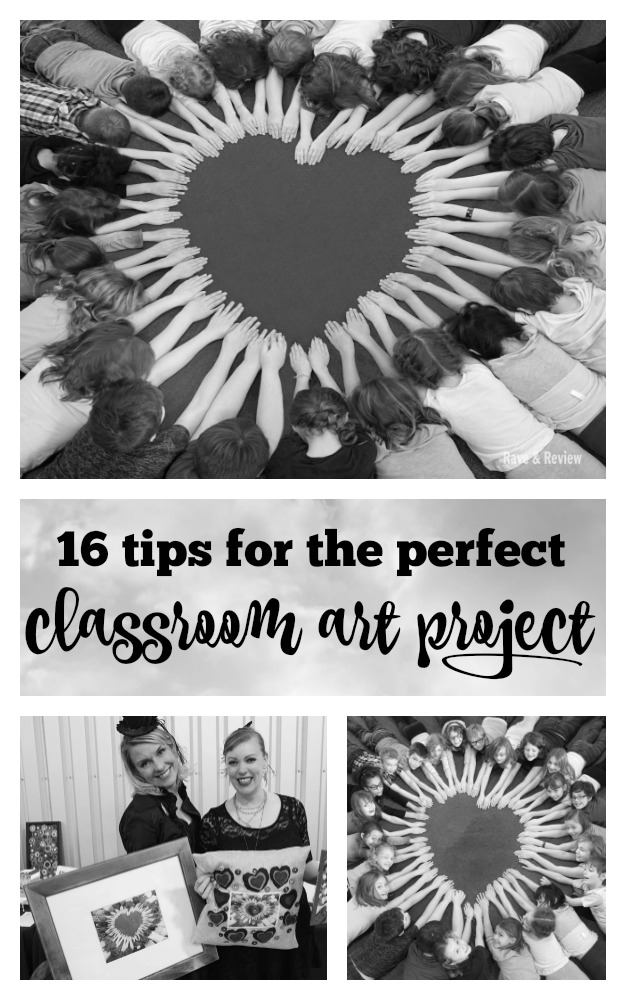
Here's a shot of our class project at the auction with my art partner. We were so happy when our work went for $500 during the live auction event. You see those other projects we're holding? I will be sharing more later about how I made the other pieces with the students so you can get even more project ideas! 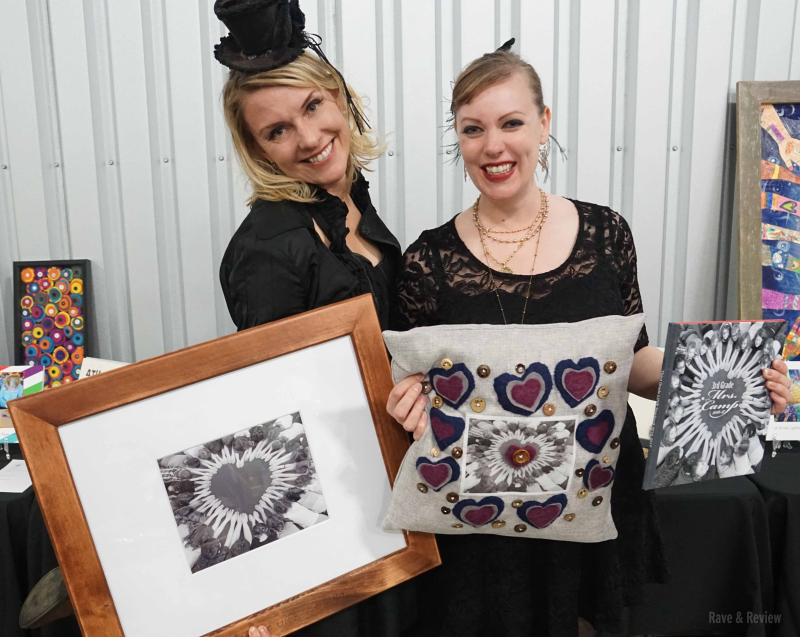 Want to pin these tips for later? Use the handy pin below! Good luck and happy shooting!

Aw so cute!
I love this!
What a great classroom project. You did an awesome job! The photo turned out so wonderful.
So cool!