This shop has been compensated by Collective Bias, Inc. and its advertiser. All opinions are mine alone. #ZiplocSavesSpace #CollectiveBias 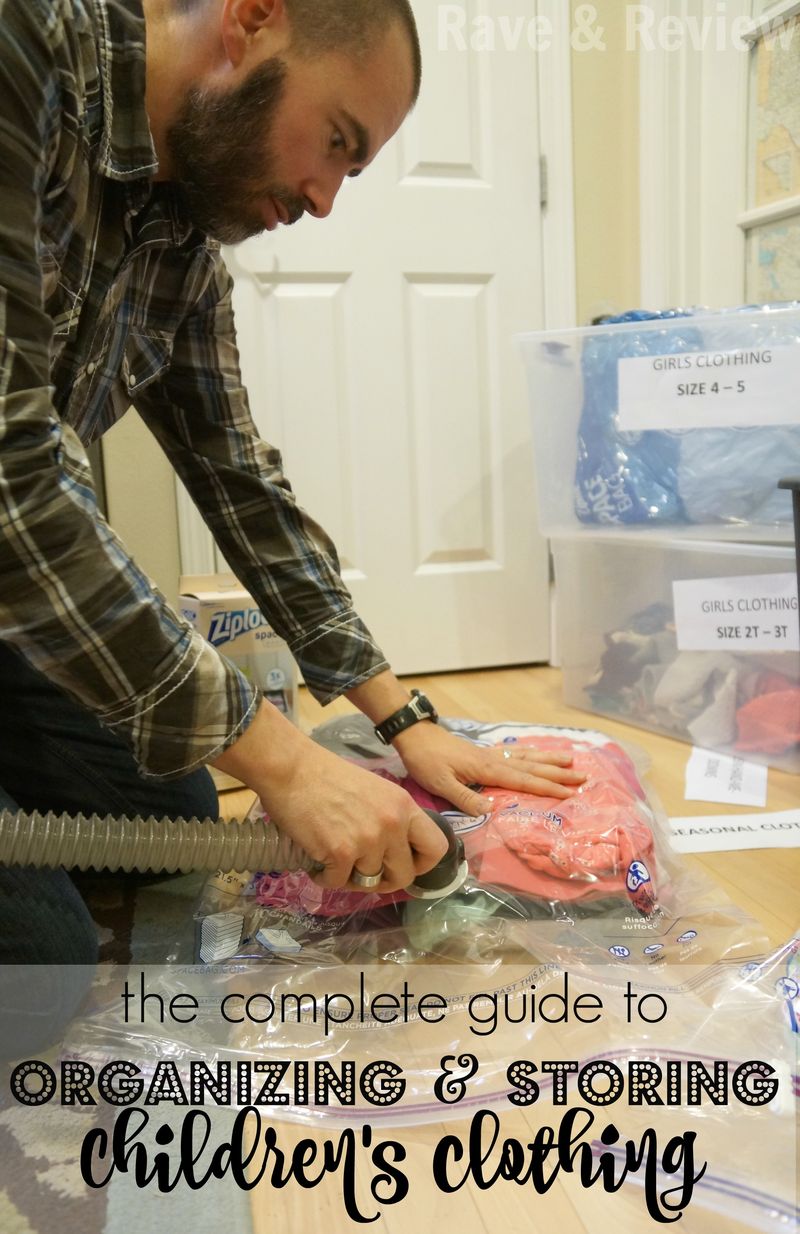 I love the spread of ages of my children in most instances. I love that the three of them are incredibly close friends, but just enough apart in age so that they each have their own time to shine in their different stages. Really, the only time the age difference bothers me is when I’m packing, storing, and then keeping track of all these different sized clothes, blankets, and seasonal gear.
 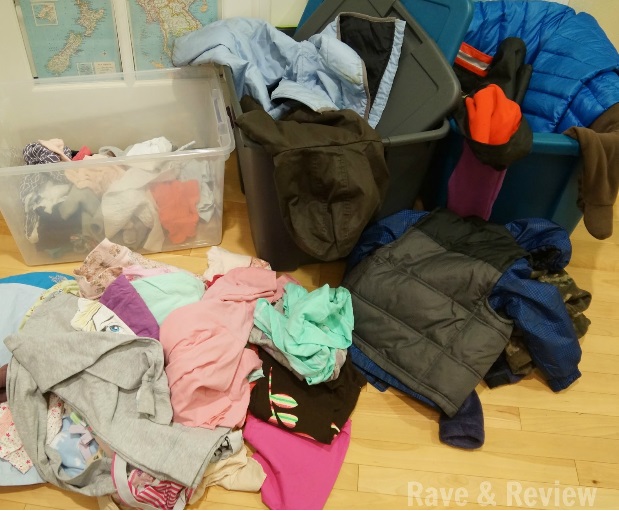 But, as miserable as running my own personal small children’s boutique can be at times, there is nothing sweeter than knowing that all of my children wore a beloved item, or when I realize how many memories are in those tiny clothes they are handing down. Stories of places we’ve been together, people that gave us the clothes who are no longer with us, or simply amazing memories we’ve made while the kids were wearing the items. That makes it all worth it in the end.
Ready to get started organizing all your little ones’ clothing? Great!
Step 1: Identify your specific challenges
Before I get into the details of how to organize, you need to identify your challenges. Ours is that my girls are 6 1/2 years apart in age and have a brother between them in age. Add in the fact that I almost always pre-buy when items are on sale and then store them away for when we
need them. This essentially means I’m going to be packing, storing, and keeping track of boys and girls stuff to grow into and pass down for a long, long time. Yours may be that you have an even larger age gap, you have limited storage space, or your storage has to be divided into multiple areas.
As you think about the issues you might run into, think of things you have tried in the past that didn’t work. I think I’ve tried just about every system in the past 7 years since becoming a mom:
1) the haphazard system that caused us to buy two pairs of snow bibs in the exact same size and color because we forgot where the next size up seasonal was.
2) the wire rack system in the laundry room with bins for each kid that filled up with one growth spurt.
3) the tote system in the garage that requires me to rewash everything before I use it again and knowing some items might get damaged.
4) and, finally, dealing with huge ranges of sizes in closets that makes it hard to find anything.
Once you’ve identified what doesn’t work for you and what potential issues you might run into, you need to identify what categories you will be sorting into. For me, I need two big categories of girls and boys clothing – which overlap quite a bit because our girls wear lots of typical boy clothing, especially for bedtime and for seasonal where we buy unisex on purpose so all the kids can utilize them. Then I need to organize by sizes {Note: when dealing with items that have a broad range to them, I tend to focus on the youngest age ranges for wearing certain items instead of the size listed on the labels. This is especially true when dealing with little girls clothing where dresses can easily become tunics and then shirts}.
Step 2: Decide what categories you need based on your challenges you identified.
My categories for storage:
- 18mo-2T, 3T-4T, 5-7, 7-9, 10+, and seasonal clothing {snow gear, Christmas items}
My categories for outgrown clothing include:
- Infant, 6mo-12mo, and then items my son has outgrown that have been deemed too boyish for our baby girl. These items then get put into bins for my sister’s two young boys, which we try and get to her a few times a year.
- I also make sure to have a donation bin on hand that I can fill with items that I don’t want to store – for example recital costumes, big and bulky items that won’t store well, and items that are trendy and not likely to still be in style in 7 years when I pull them out again.
- And, then for me, I have a last category I call sentimental. These are the items I want to save for each child even after they are outgrown.
Step 3: Go to Lowe’s
Once you realize how many categories you will need, the next step is to buy supplies, which is definitely the best part. For this project you will need:
- Large paper labels for sorting – print your own or have your kids make you some
- A permanent marker and masking tape {or label maker} for marking totes and Ziploc® Space Bags®
- Scissors
- Tape
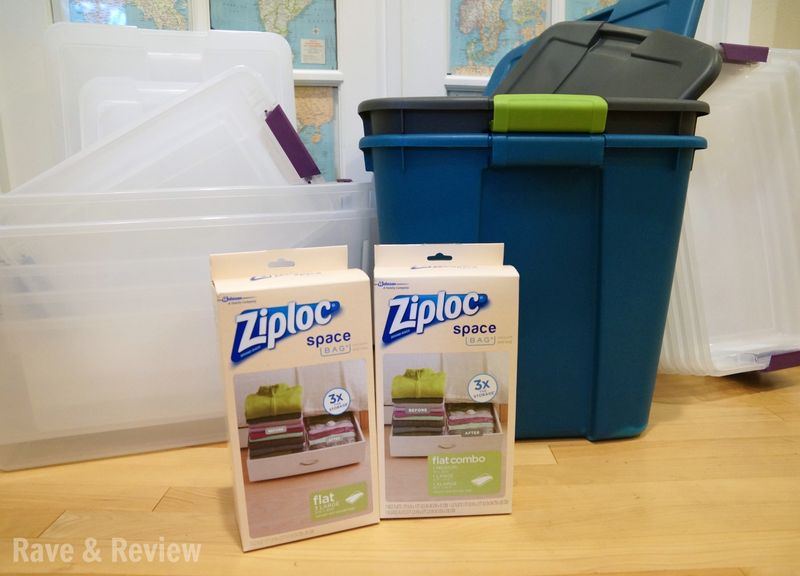
- Totes in assorted sizes
- Ziploc® Space Bags®
When I’m working on a big project like this, I always head to the Lowe’s near me to get what I need. With tons of totes in different sizes, label makers, and Ziploc® Space Bags® available, they are the go-to place for home organization. Plus, they have my secret weapon when dealing with mounds of kids clothing and baby stuff. 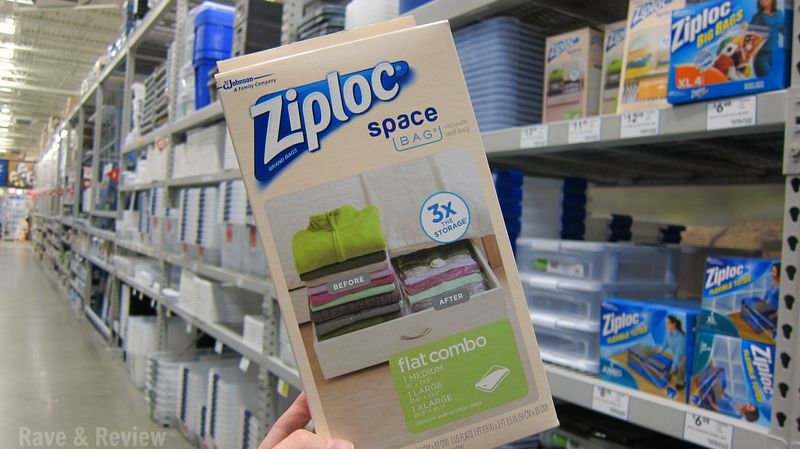 Folks, the Ziploc® Space Bag® is my secret weapon.
  They are the best thing to happen to moms storing baby clothing since manufacturers stopped making kids gear out of stiff plastic in the 70s. Not only do they help micro-organize and save precious space in your storage totes, they also have the added benefit of keeping the items clean and dry, which means a whole lot less work for me when it’s time to dig into a bin.
And, because they are airtight and waterproof, it means I won’t lose all of my precious baby items if the storage area leaks or we get flooded. I also love that these Ziploc® Space Bags® protect against bugs, moths, dirt, mildew, odors and more so I don’t need to worry something is making our baby clothing storage a home.
They also are reusable, which means I can fill, empty, and refill Ziploc® Space Bags® as the kids grow into and out of each size. Just fold your clothing to be stored nicely and follow the instructions on how to fill the Ziploc® Space Bags® and you will watch your totes hold so much more than they would without Ziploc® Space Bags®. 3 times the storage, to be exact when compared to uncompressed storage volume. 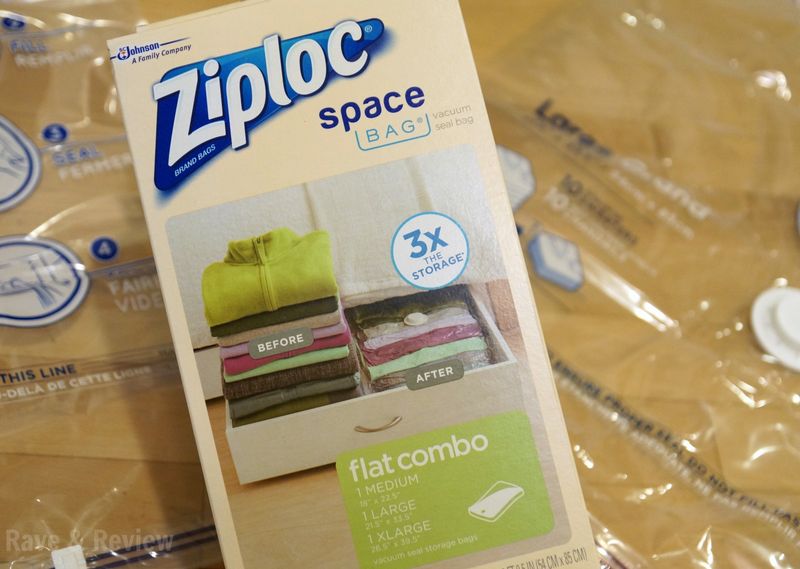 I especially love the Ziploc® Space Bags® for compressible items like snow gear and coats that on their own would take up the whole bin, but when compressed only take up a fraction of the space. This makes them amazing because, with limited amount of storage, I might not be able to keep them otherwise, so this saves us a ton of money simply by storing hand-me-downs. Ziploc® Space Bags® come in multiple sizes and Lowe’s carries combo packs for whatever project you are tackling. Since I have a big project, I went with two packs: one with multiple sizes to choose between and one large set.
Step 4: Sorting
Now that you have your totes, your Ziploc® Space Bags®, and your categories figured out, you now can start sorting. I use the totes to help with this process and simply tape on labels that make it easy to see at a glance where items should go. As I go through piles of clothing, I pull from the outgrown bin in the laundry room, I simply toss them into the correct category. At this
point, no folding is required, just toss them in as you go. 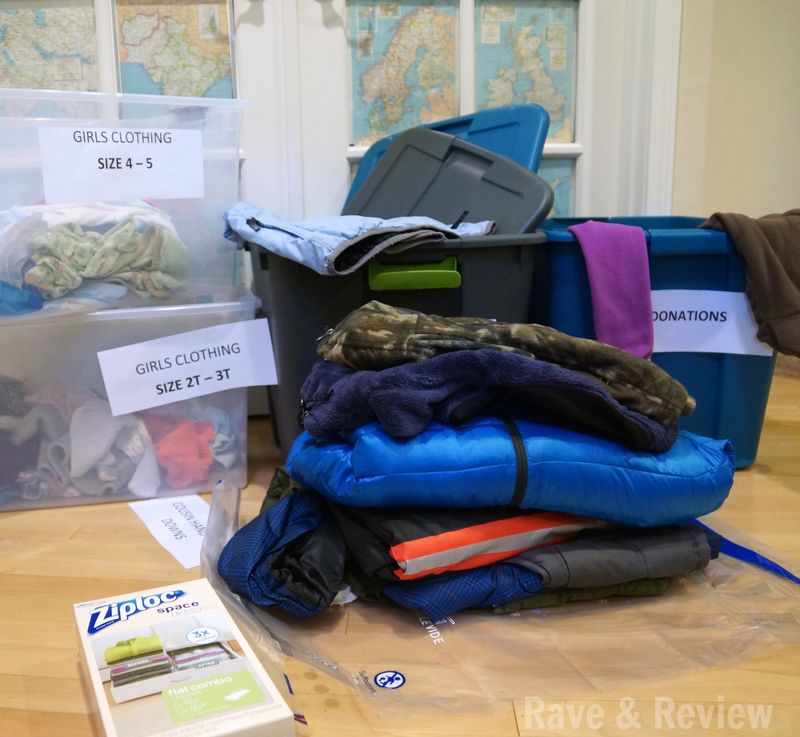 Step 5: Pare down
Once they are all pre-sorted, I immediately remove the donation bin, and the items to go to younger cousins so I can see some progress. This helps immensely with my motivational levels, and I would highly recommend physically removing any bins you can from the space as you go. It’s even better if you can call people to come pick up the full bins right away to get them out of the house.
Step 6: Short-term storage
All that should be left now are storage categories, and those you need to categorize into long-term and short-term. Anything my kids will be wearing in the next year goes into short-term storage in their closets, so I love using a Ziploc® Space Bag® for this so they don’t have to store large totes.
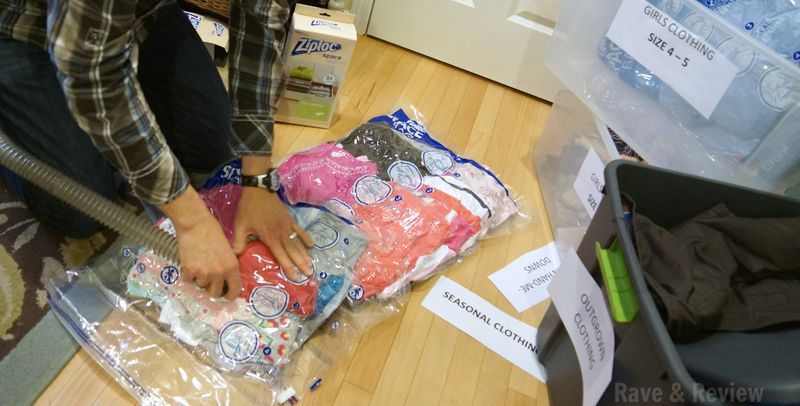
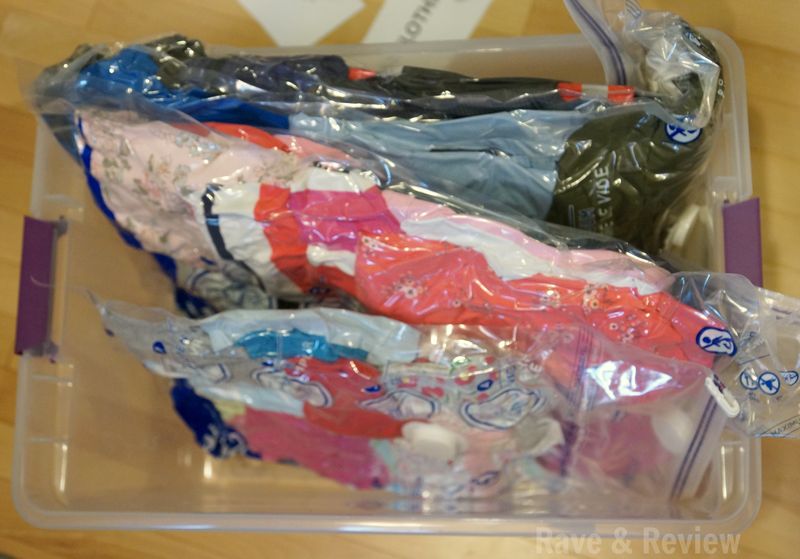
I fill the Ziploc® Space Bags® with items being careful not to overfill. Keep going until the bins are empty, organizing as you go. I tend to put all the outerwear in one Ziploc® Space Bag®, all the pajamas in another, and then clothing together. That way, if I need one or two items I know right where to look. 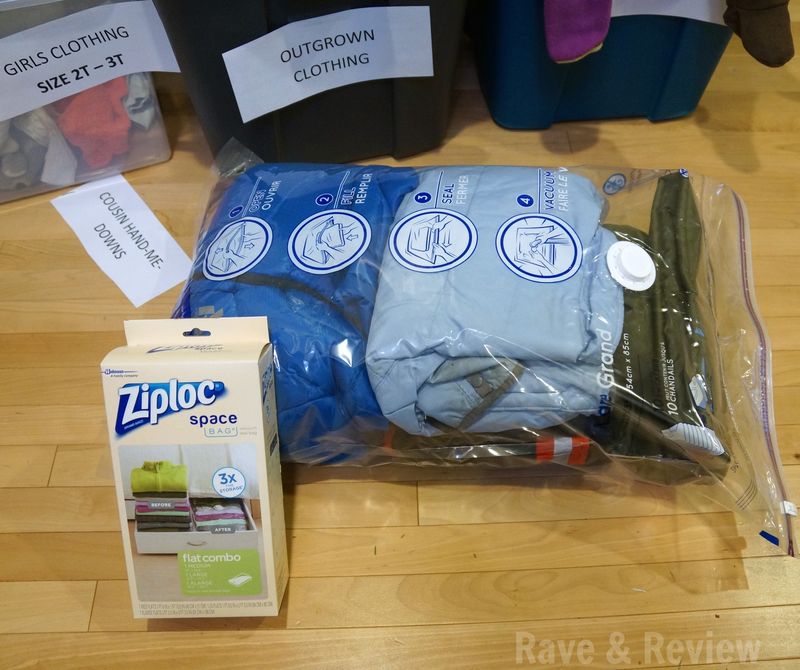 After the Ziploc® Space Bags® are full, it’s time to compress them. I roll out the vacuum and start sucking the air out of each Ziploc® Space Bag® while making sure the Ziploc® Space Bag® stays flat for storage.
  Step 7: Long-term storage
What remains is long-term storage, which for me means the garage. Home to bugs, water leaks, and temperature fluctuations galore, this makes me really appreciate the safety and security of the Ziploc® Space Bags® that keep all of my items clean, dry, and compressed until I need them in a few years. 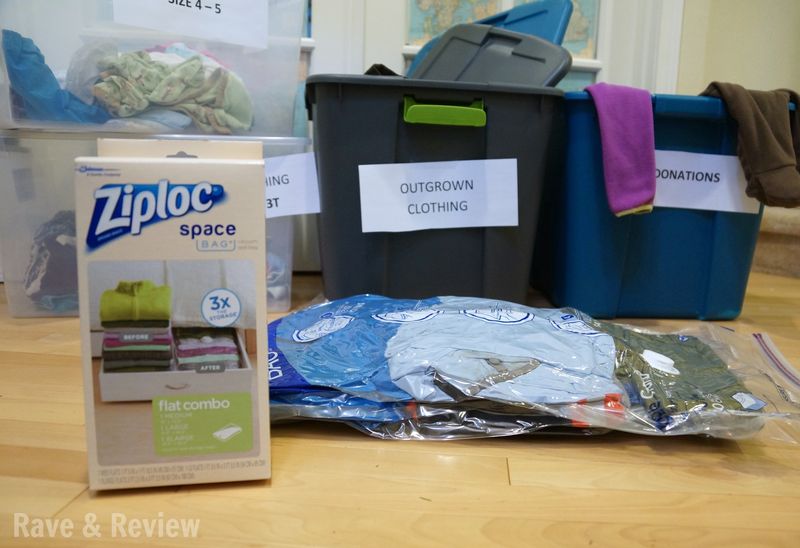 Using the same steps as above, I pack long-term storage items in Ziploc® Space Bags®, remove the air, and then place back in totes. Now is the time to label the totes clearly so you know where to find the next size up, and any seasonal gear.
  Step 8: Enjoy the peace that comes from having an organized system for dealing with hand-me-downs and outgrown clothing
Not only will you actually know where those ski bibs are when you need them, you will also be saving tons of money in the long run by buying ahead and then reusing clothing through multiple kids. Trust me, it’s worth it.
Are you ready to start organizing?
Head to Lowe’s and pick up some sturdy totes in assorted sizes and be sure to pick up my favorite tool: the Ziploc® Space Bags® from Lowe’s. For more organizing ideas, be sure to check out some more tips for how to deal with clothing and gear storage from Ziploc® Brand.

Those Ziploc space bags really save a lot of room! What a great idea for storing clothing!
What great tips! I’ve never thought of using Space Bags for all the kids clothing!
We need to do this so bad. I’m hoping to get a start on it into the new year
What an awesome list – I need to do this soon!
Did you ever have a problem with elastics using the storage bags?