This post may contain affiliate links. If you buy something from one of the linked sites you won’t pay extra, but I might make a commission.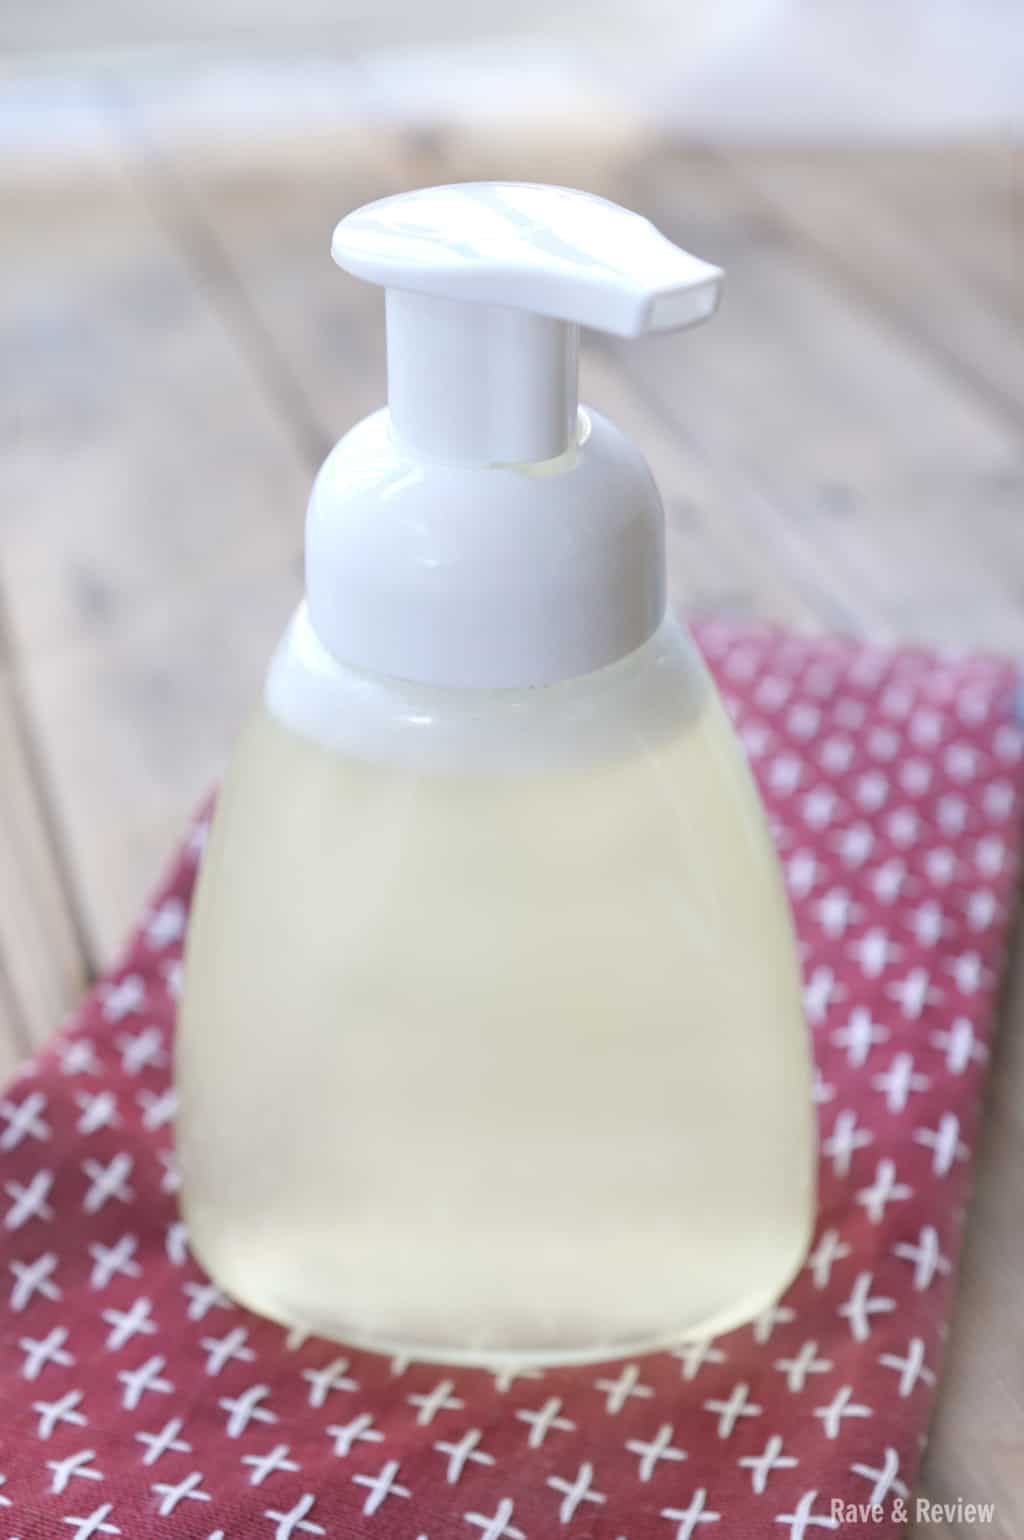
I love foaming soap. When my kids began to wash their hands alone, I would watch while they let big squirts of soap run down the sink and into the drain without so much as touching their hands together, leaving masses of soap that caked on the sides of the sink and never actually cleaning their hands. So, I switched to foam soap and the kids actually got excited about rubbing the bubbles into their hands, while I was just excited that they were getting clean and weren’t leaving huge soap messes everywhere.
But, the one thing I didn’t love was the price of foam soap. Sure, it lasts longer because of the special pump mechanism that injects air into diluted liquid soap, but even so it seemed pricey. This method of foaming soap uses about 80% less soap per pump, but it still feels pretty wasteful because you but it pre-diluted. So, when I realized I could make it myself, I was sold. 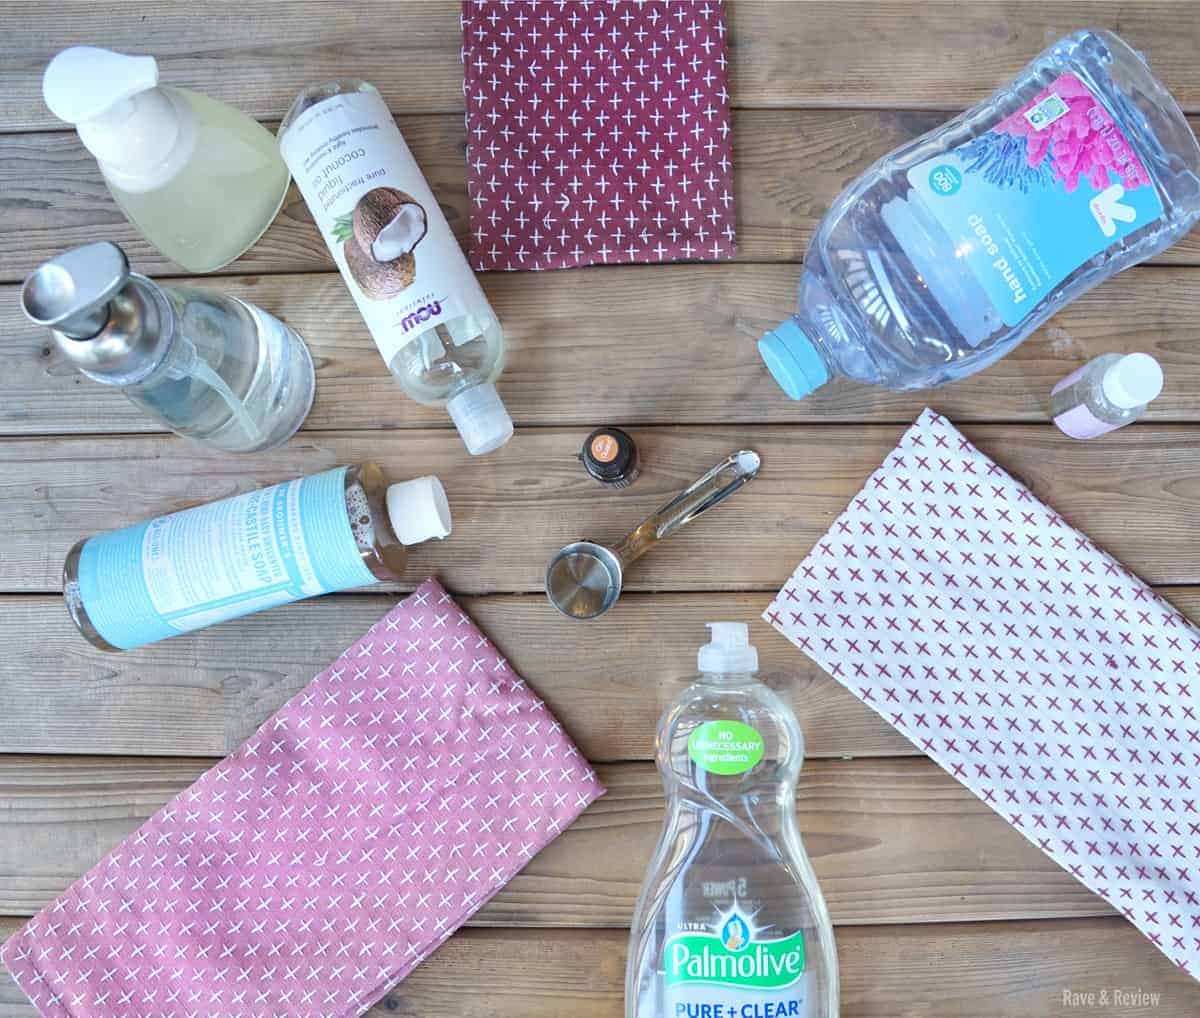
Using standard old soap I already had lying around the house and a few things from my essential oil collection {which are optional}, I figured out I could make the soap I already had stretch about 200x longer by diluting it myself here at home. After I figured this out, we switched out all of our dispensers out to the foaming kind and would just refill them over and over.
Throughout the years, we’ve now upgraded our dispensers from the ones sold for single-use that we would just refill over and over, and now have glass ones, ceramic ones, and a few plastic ones for the kids. My advice is to start with the ones you buy for single-use and then upgrade to this plastic foaming dispenser for kids’ bathrooms, or this glass foaming dispenser for kitchens and parents’ spaces. This foaming dispenser from amazon {pictured below} is my favorite if you’re starting with traditional hand soap because it has the recipe on the side so even the kiddos can do it, but don’t go by the markings on the bottle if you’re using castile soap or dish soap because those need more dilution. 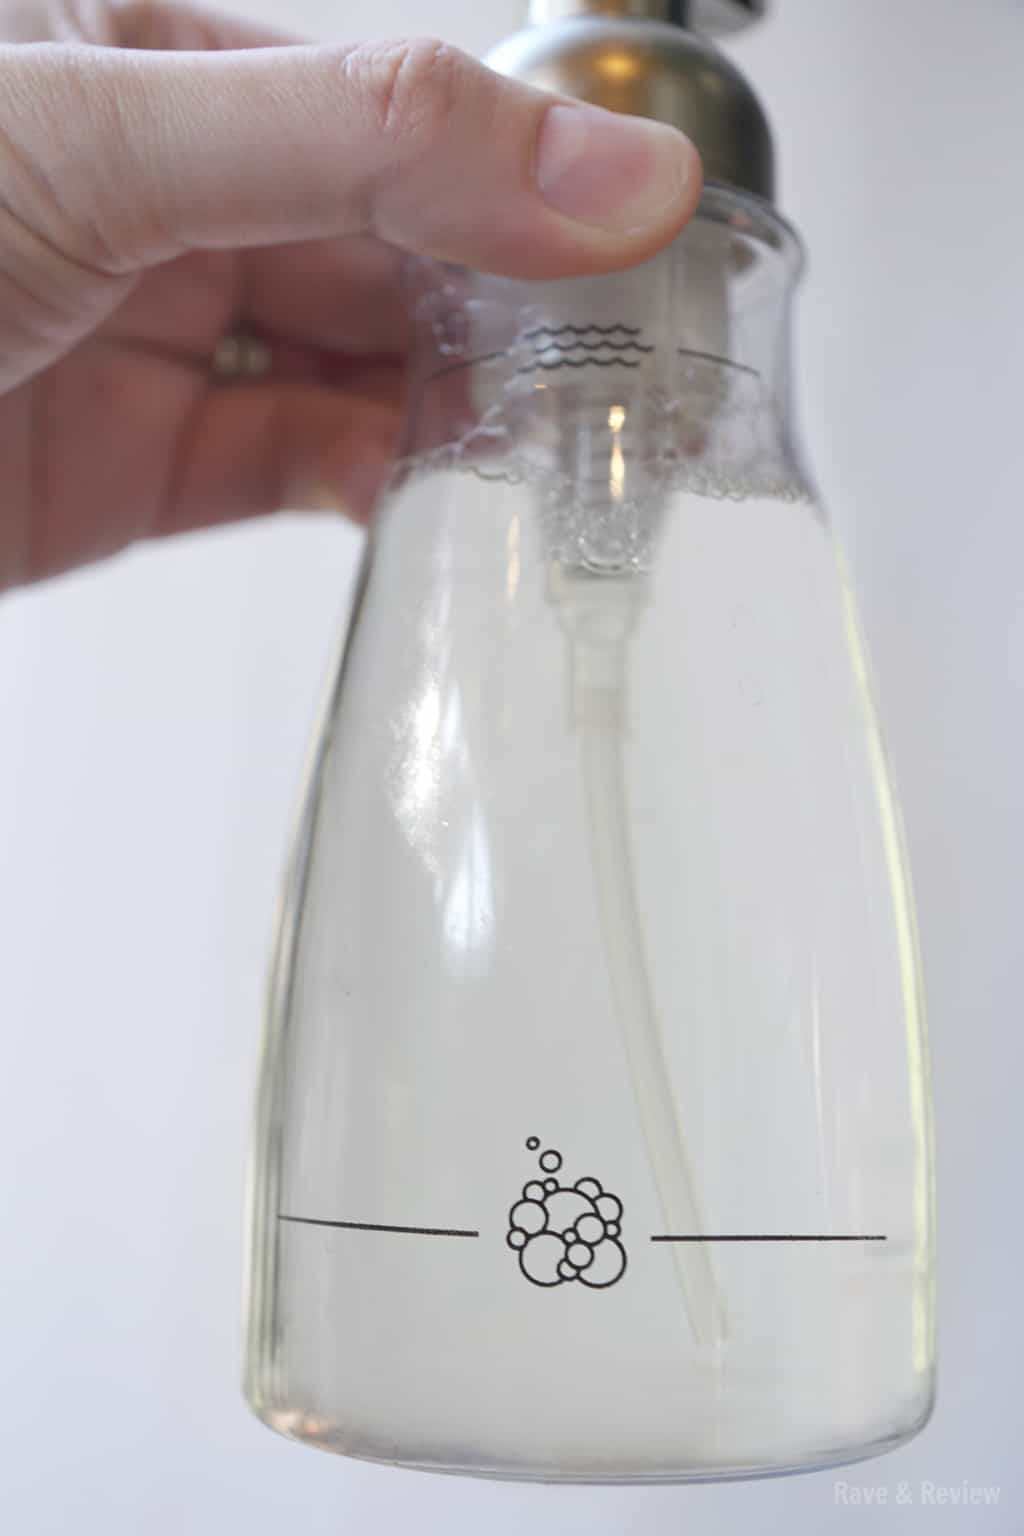
If you want to use your Mason jars you already have because you love the aesthetic, you can simply order these foaming soap pumps from amazon. The best part about this method is that you can premix them and place traditional jar lids on them and then you can have a few Mason jars always filled with foaming soap ready to go.
Foaming Hand Soap with Castile Soap Base
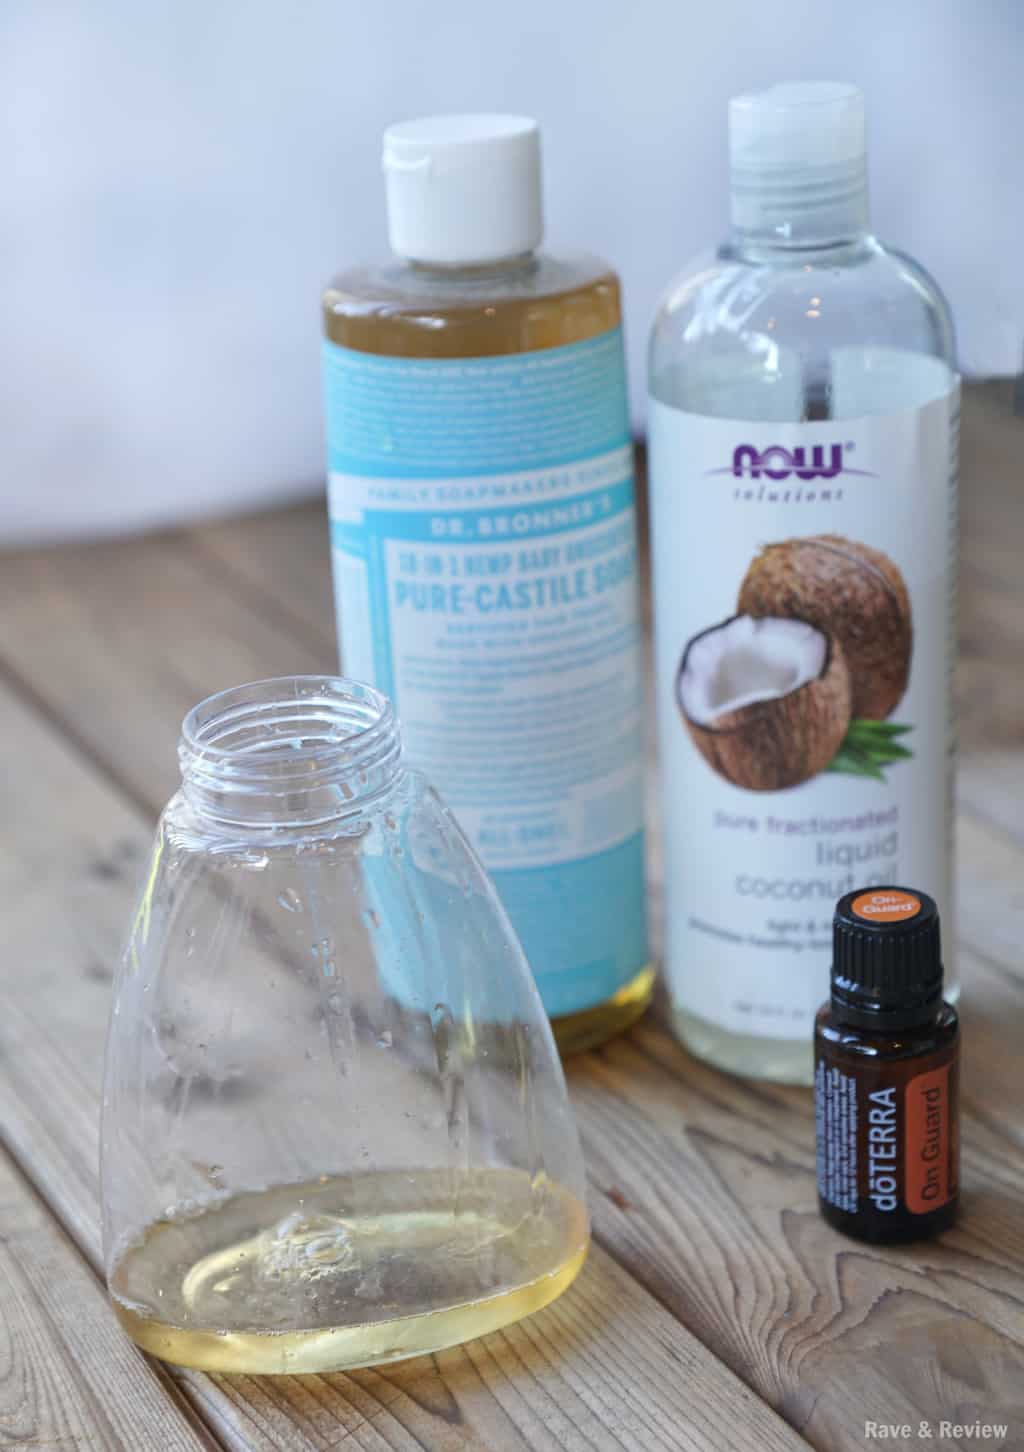
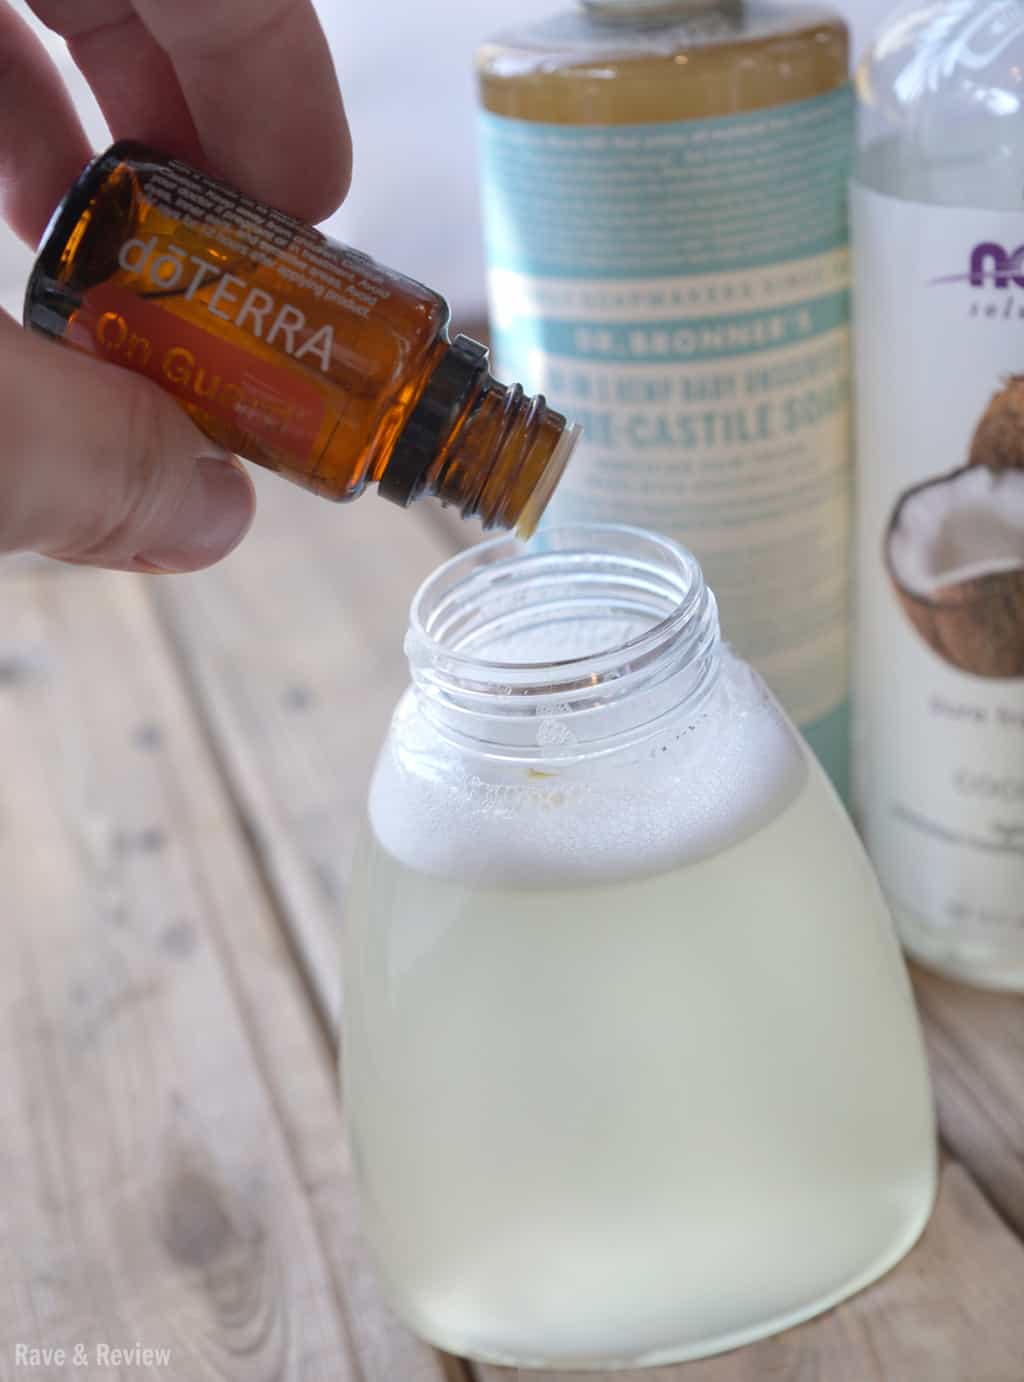
This is one of the cheapest options because castile soap is relatively inexpensive and you use less of it to make foaming hand soap, so it lasts and lasts. I also love that there are so many different types of castile soap, so you can find your perfect match even if you have sensitive skin or need completely unscented soap. We use the Dr. Bronner’s Baby Soap because it’s unscented for sensitive skin. Then we can add essential oils to scent the soap, but you can also use castile soap that is already scented if you prefer. Add in some liquid coconut oil from Now Solutions to keep your skin from drying out, and you’ve got a quick and easy way to make amazing hand soap for just about any purpose.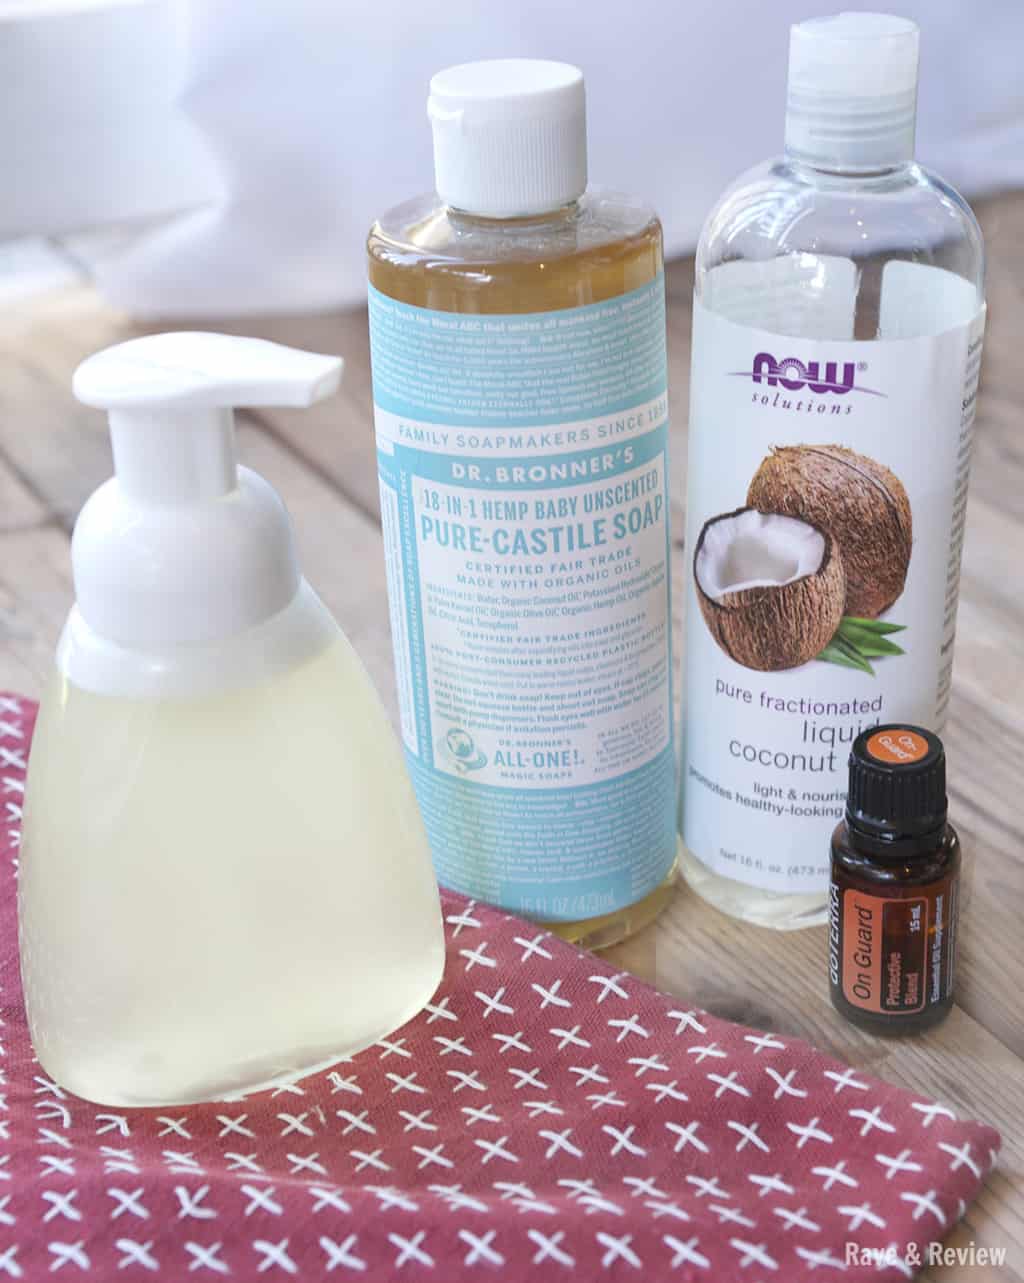
Ingredients:
Instructions:
- Pour any castile soap of your choice into the soap dispenser
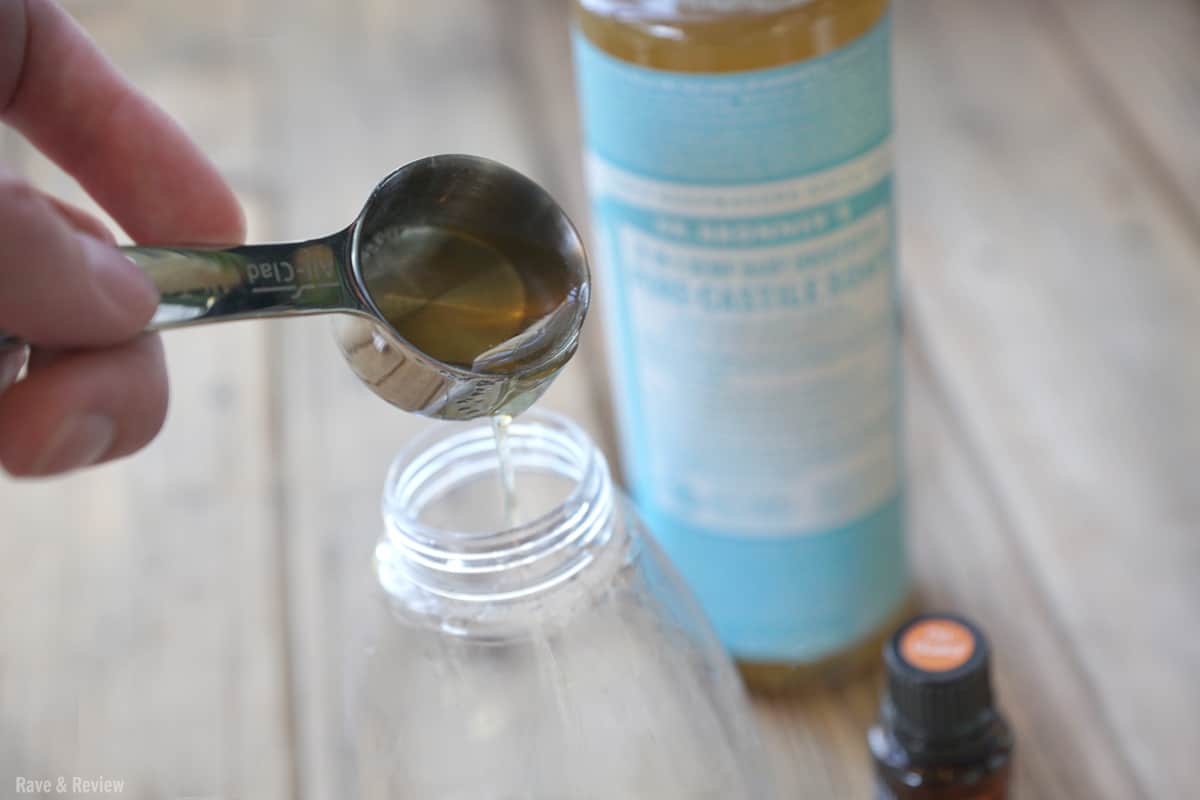
- Add fractionated coconut oil into bottle
- Add essential oils, if desired
- Using a small and steady stream of water, slowly add water into bottle making sure to leave room for the foaming pump
- Mix with spoon and add foaming soap pump
Foaming Hand Soap from Traditional Hand Soap
This method is typically the one most people use for making foaming hand soap because most of us have a stash of hand soap already in gallon containers and this method makes it last forever. Making foaming soap from traditional hand soap is super simple, and the resulting foaming soap smells just like the original hand soap so you can choose by scent.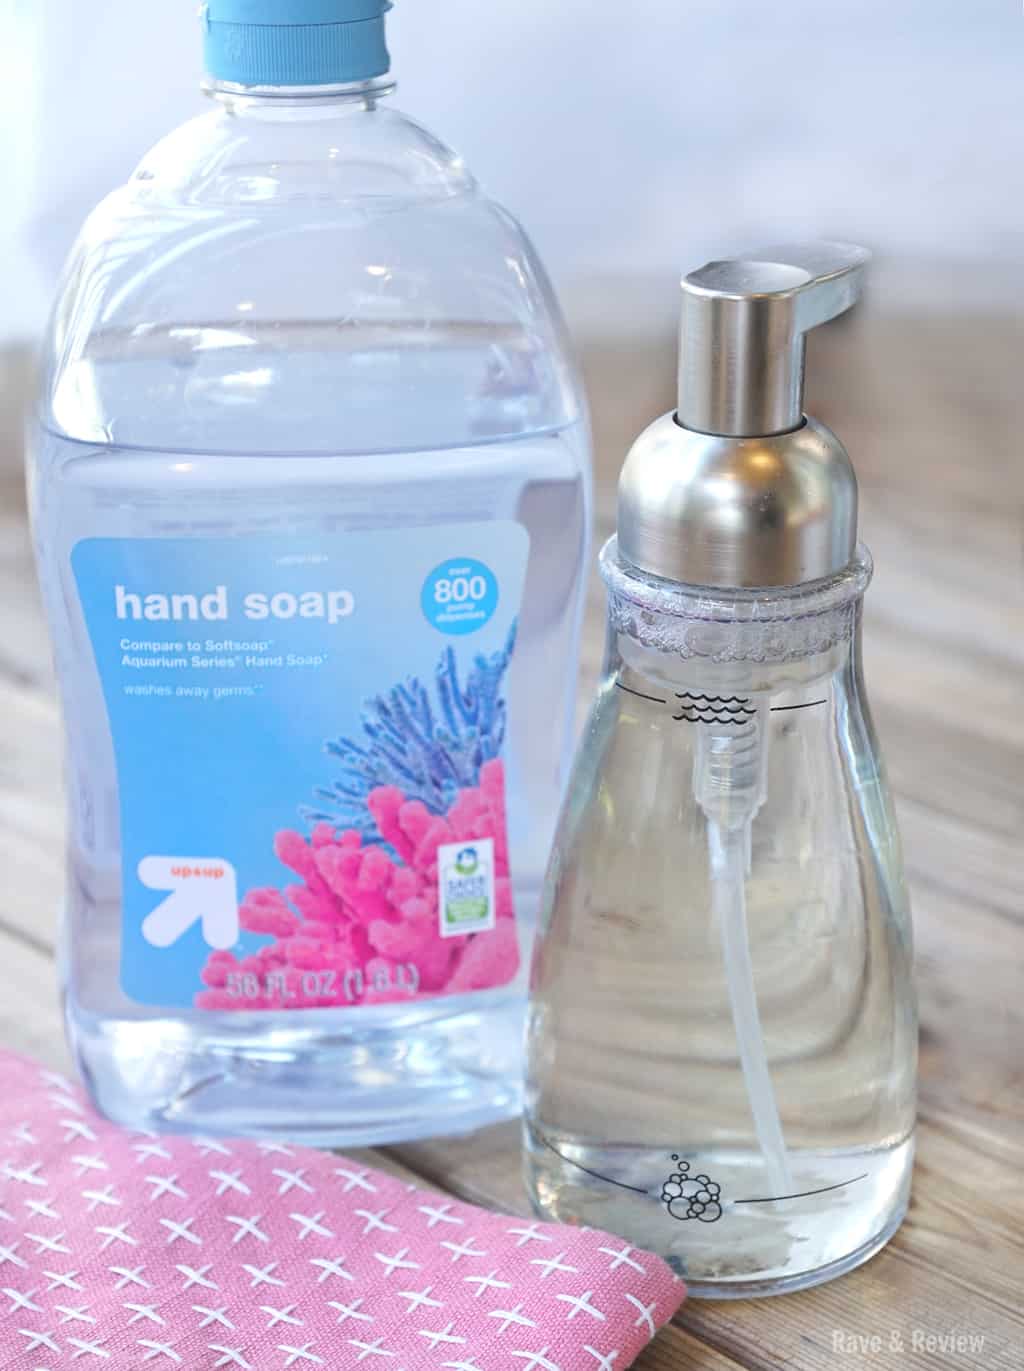
My recommendation is to go with a clear soap as those dilute better and then foam better. Creamy or thick soaps do work as well, but I would use less of the soap base and more water to compensate. Avoid the Bath and Body Works soaps with the micro scrubbers or “beads” that can clog the foaming pump.
Ingredients:
Instructions:
- Pour your hand soap into the soap dispenser approximately 1/4 of the way full (for thicker soaps like Bath & Body Works gels, only fill 1/5 of the way full)
- Using a small and steady stream of water, slowly add water into bottle making sure to leave room for the foaming pump
- Add essential oils, if desired
- Mix with spoon and add foaming soap pump
Foaming Hand Soap from Dish Soap
This is a great choice for kitchens because it offers better grease-cutting ability and antibacterial options, but it is tougher on hands. 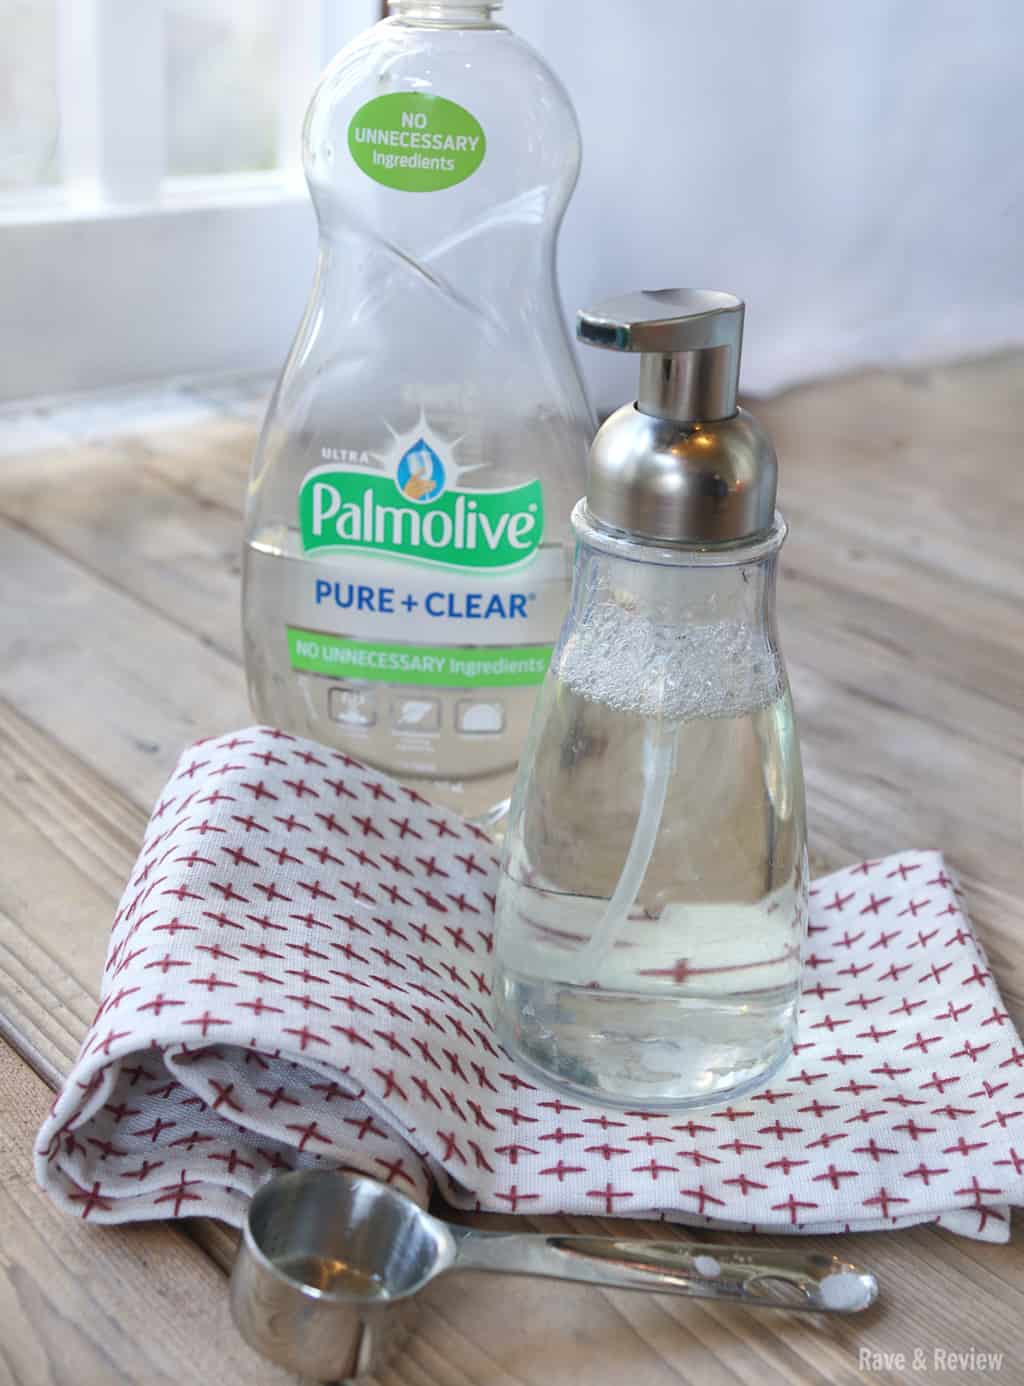
Ingredients:
Instructions:
- Pour any dish soap of your choice into the soap dispenser
- Using a small and steady stream of water, slowly add water into bottle making sure to leave room for the foaming pump
- Mix with spoon and add foaming soap pump
DIY foaming hand soap - 3 different ways
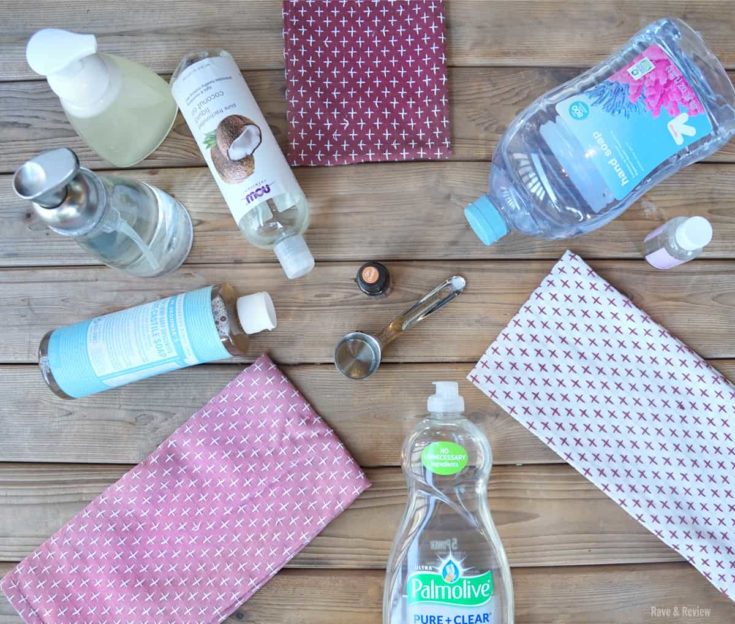
Materials
- castile soap, traditional liquid soap, or dish soap
- fractionated coconut oil
- water
- essential oils, if desired
Tools
- foaming soap dispenser
Instructions
- Pour soap of your choice into the soap dispenser
- Add fractionated coconut oil into bottle
- Add essential oils, if desired
- Using a small and steady stream of water, slowly add water into bottle making sure to leave room for the foaming pump
- Mix with spoon and add foaming soap pump
Ready to shop for supplies? Start here!

It would be nice if you said the actual amount of water that you used. Not all of the soap containers are the same size. I was also looking to see if you can make your own foaming soap out of the creamy type hand soaps, like Soft Soap. When I googled it, I found your website but you don’t have any info about it! I’m assuming that you just need to add more water than you do when making it with regular hand soaps. Thanks for all the other info though & God Bless you and your family😊!